If you need to know how to cook chicken breast tenders on the stove without ending up with rubbery little strips, start with one simple idea: control the heat. Chicken tenders are lean, thin, and wonderfully quick, but that speed works against you if the pan is too hot. I learned this after serving Mark a plate of beautifully browned chicken that had the texture of a pencil eraser. It smelled great. We still needed sauce.
This method uses 1 pound, or 454 grams, of chicken breast tenders, a 12-inch skillet, 15 grams of neutral oil, and a short covered finish. You can use packaged chicken tenderloins or slice boneless, skinless chicken breasts into strips about 1 inch thick. The goal is golden edges, a tender center, and enough pan juices to spoon over rice, pasta, toast, or a salad.
What you need before the skillet gets hot
For 1 pound of chicken, pat the pieces dry with paper towels. This is not busywork. Wet chicken steams, and steamed chicken does not develop the browned surface we want. Trim away the tough white tendon if your tenderloins have one. It is edible, but it can pull the meat into a chewy knot when you bite it.
Mix 6 grams fine salt, 2 grams garlic powder, 1 gram smoked paprika, 1 gram black pepper, and 1 gram dried thyme in a small bowl. That is roughly 1 teaspoon salt, 1 teaspoon garlic powder, 1/2 teaspoon paprika, 1/2 teaspoon pepper, and 1/2 teaspoon thyme. Coat the chicken evenly. If you have time, let it sit for 10 minutes while the seasoning draws a little moisture into the surface. If dinner is already late, cook it immediately.
For the pan, choose stainless steel, cast iron, or a heavy nonstick skillet. Add 15 grams of avocado, canola, or olive oil. Butter alone burns before the chicken is done, so I use oil for the sear and add 15 grams of butter near the end. That gives you flavor without turning the pan into a smoking alarm test.
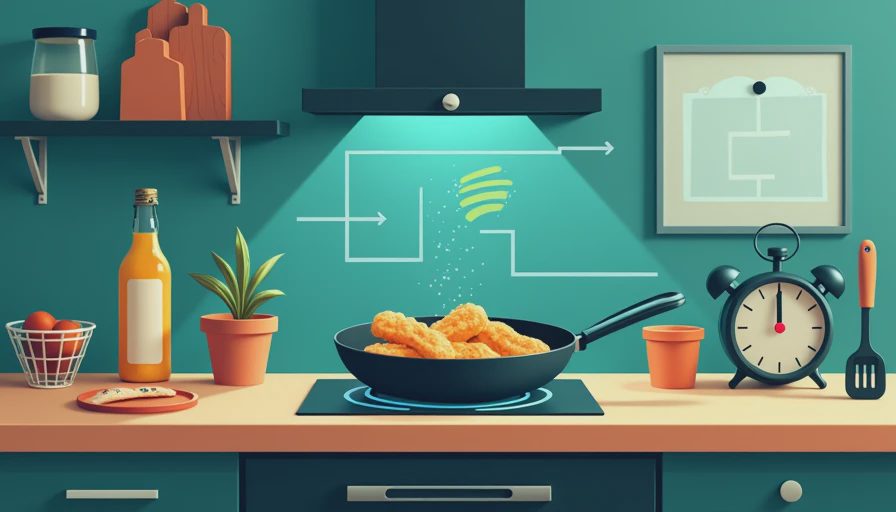
How to cook chicken breast tenders on the stove step by step
Set the skillet over medium heat for about 2 minutes. The oil should look fluid and shimmer slightly, not smoke. Place the tenders in one layer with space between them. If they are crowded, work in two batches. Crowding drops the pan temperature and leaves you with pale, wet chicken instead of browned edges.
Cook the first side for 3 minutes without nudging the pieces. This is where patience pays rent. When the underside is golden brown and the chicken releases from the pan fairly easily, turn each piece with tongs. Cook the second side for 2 minutes.
Lower the heat to medium-low. Add the butter and, if you like, one smashed garlic clove and a small rosemary sprig. Swirl the pan as the butter melts, then spoon it over the chicken for another 1 to 2 minutes. If a piece is thick, cover the skillet and cook for 2 additional minutes. The exact time depends on thickness, so use temperature rather than hope as your final test.
The thickest tender should reach 165°F in the center on an instant-read thermometer. Insert the probe from the side into the middle, avoiding the pan. A thinner piece may reach the target sooner, so check the largest one first and then confirm another piece. This is the reliable answer to how to cook chicken breast tenders on the stove safely and evenly.
Transfer the chicken to a plate and rest it for 3 minutes. Resting is not a restaurant trick; it gives the hot juices a moment to settle instead of running onto the plate when you cut into the meat. Add a teaspoon of lemon juice to the warm pan juices, scrape up the browned bits, and spoon that over the tenders.
The failure modes I actually see in home kitchens
The most common failure is a black outside and raw center. That means the heat was too high. Wipe out any burned seasoning, return the chicken to the pan over medium-low heat, add 30 grams of water or broth, cover, and cook until the thickest piece reaches 165°F. The surface may not be as pretty, but dinner can still be delicious.
The second problem is dry chicken. Usually, the strips were thin and cooked for the full time meant for thick tenderloins. Start checking at 4 minutes total next time. Also, do not press the chicken with a spatula. That pushes out the juices and gives you no useful benefit.
If the chicken is pale and watery, the pan was crowded or the meat went in wet. Cook in batches and leave each piece alone for the first 3 minutes. Browned fond on the skillet is flavor, not a sign that you have done something wrong.

Easy ways to change the finished chicken
For lemon herb tenders, add 15 grams butter, 15 grams lemon juice, 1 gram lemon zest, and 2 grams chopped parsley to the pan after cooking. For a quick honey mustard version, stir 20 grams Dijon mustard, 15 grams honey, and 30 grams water into the browned pan juices over low heat. Spoon it over the chicken rather than boiling the sauce aggressively, which can make the mustard taste harsh.
You can also turn the tenders into a meal-prep base. Refrigerate cooked chicken in a shallow container within 2 hours, then use it within 3 to 4 days. Slice it into a grain bowl with roasted vegetables, tuck it into a tortilla with lettuce, or serve it beside mashed potatoes. Reheat gently with a tablespoon of water so the meat does not dry out during the second round of cooking.
For a crisp coating, dip the seasoned pieces in 30 grams beaten egg, then press them into 60 grams seasoned panko. Use 30 grams oil instead of 15 grams and cook over medium heat, turning carefully after about 4 minutes per side. The coating needs more space, so definitely cook in batches. The chicken still needs to reach 165°F inside.
A simple timing plan for busy nights
At minute zero, pat and season the chicken. While it rests, put rice, pasta, or vegetables on to cook. At minute ten, heat the skillet. Cook the first side for 3 minutes, the second for 2 minutes, then finish on medium-low until the thermometer says 165°F. Rest for 3 minutes while you stir together a sauce or dress a salad.
That is the whole answer to how to cook chicken breast tenders on the stove: dry the meat, season it accurately, use medium heat, avoid crowding, turn once, and check the center instead of guessing. The chicken does not need a complicated marinade or expensive equipment. My first batch was overcooked, Mark still ate it, and the next one was properly juicy. Put on the apron and go ahead and do it. It does not matter if it is perfect or not, just make it delicious.


No comments yet.