A santa fruit tray is the kind of holiday food I want on my table: cheerful, recognizable, and completely edible. No piping bags, no specialty mold, and no need to produce a fruit sculpture that looks suspiciously like a professional food stylist was involved. You need a platter, a handful of colorful fruit, and about 20 minutes.
I first made this for Lily when she was three, which meant the original plan included carefully spaced berries and ended with two banana slices in her pocket. It was still cute. More importantly, people ate it before the cookies disappeared. That is a very good standard for a Christmas centerpiece.
What you need for a Santa fruit tray
For one large oval or rectangular tray serving about 8 to 10 people, gather 2 pounds of strawberries, 3 medium bananas, 1 cup of red grapes, 1 cup of green grapes, 1 cup of blueberries, and half of a small honeydew melon. You will also need 1 cup of mini marshmallows or a small bowl of vanilla yogurt for Santa’s trim and beard.
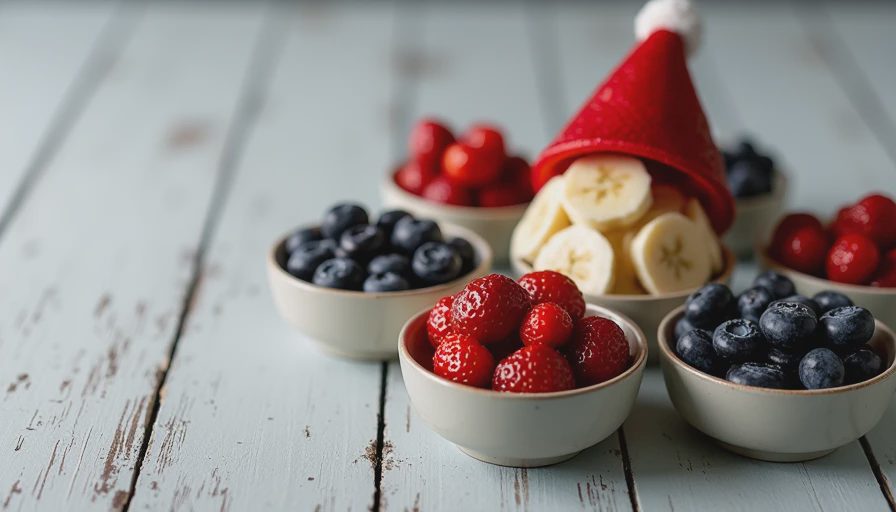
The strawberries create the red hat and coat. Banana slices form the face, beard, and hat band. Blueberries work beautifully for eyes, while a single raspberry or strawberry tip makes a nose. Grapes fill gaps and keep the tray from looking too rigid. If you dislike marshmallows, use small scoops of yogurt instead, but add them shortly before serving so they do not spread across the platter.
Wash the fruit before cutting it, then dry everything thoroughly. This is not a fussy step. Wet berries leak juice, and juice turns the banana beard gray faster than you can say “holiday brunch.” Pat strawberries and grapes with a clean towel, and let cut melon drain in a strainer for five minutes.
How to assemble the Santa fruit tray
Start with the hat. Fan sliced strawberries across the top third of the platter, keeping the pointed ends aimed upward. Leave a narrow curved space beneath the strawberries for the white hat band. Arrange banana rounds in that space, then add a row of mini marshmallows or small yogurt dots above the hat for the fluffy trim.
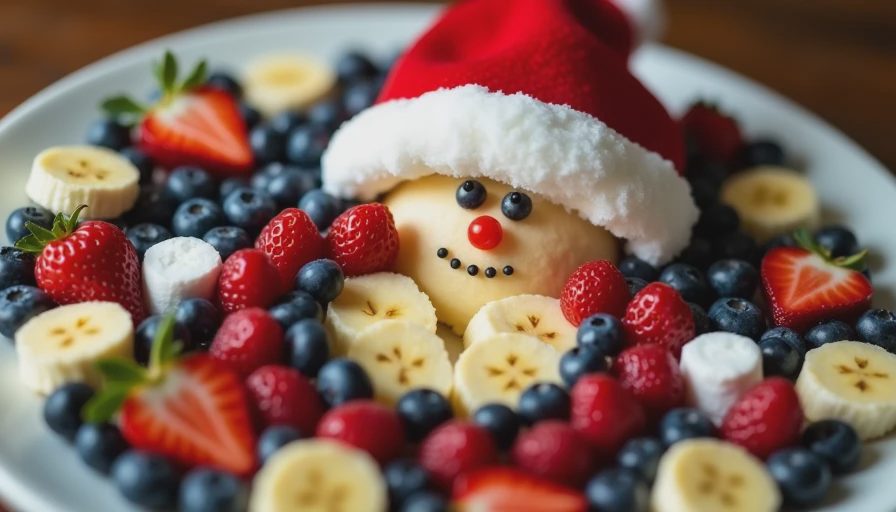
Build Santa’s face directly under the hat with banana slices. You do not need a perfect circle; a slightly lopsided face looks friendlier. Use two blueberries for eyes and a strawberry tip for the nose. For the beard, arrange banana slices in overlapping rows that widen toward the bottom. If the bananas are very ripe, cut them a little thicker, around 1/4 inch, so they hold their shape.
Add grapes along both sides of the face and beneath the beard. These act as a colorful border and hide the edges where the design stops looking like Santa and starts looking like a collection of fruit. I usually tuck blueberries into three or four small gaps rather than scattering them evenly. Random placement looks less manufactured and is much faster.
The fruit choices that make the design work
Color contrast matters more than artistic skill. Red strawberries against pale bananas make the character readable from across the table. Green grapes provide a clean border, while blueberries give the face enough definition that guests do not need an explanation.
For a santa fruit tray, choose firm strawberries with bright green tops and avoid berries with soft sides. They are harder to fan and release more juice. Use bananas that are yellow with a few small brown freckles, not heavily spotted fruit. Under-ripe bananas taste starchy, while very ripe ones collapse when moved.
You can replace honeydew with green apple slices, kiwi, or seedless green grapes. If blueberries are expensive, use two raisins for the eyes and a raspberry for the nose. Pineapple chunks can replace melon around the edges, although they will make the tray more tropical than traditional. There is no baking science here, just the practical rule that firm, dry fruit behaves better.
Make it ahead without a soggy beard
Prepare the strawberries, grapes, melon, and blueberries up to six hours ahead. Store them separately in airtight containers lined with paper towels. Do not slice the bananas until 30 to 45 minutes before serving. If you need a little extra insurance against browning, brush the banana pieces with lemon juice diluted with an equal amount of water. Use a pastry brush or clean fingertips; do not soak them, because wet banana slices slide around the platter.
Assemble the santa fruit tray close to serving time, then refrigerate it uncovered for 15 minutes. Covering it tightly can trap condensation, which makes the berries dull and the marshmallows sticky. If your refrigerator has a strong onion or leftover-casserole smell, cover the tray loosely with plastic wrap without letting the wrap touch the fruit.
For a party, place the platter over a larger tray of ice packs hidden beneath a towel. Do not set the fruit directly on loose ice, since melted water will run into the design. Take it out about 10 minutes before serving so the fruit is cold but not painfully chilled.
What went wrong when mine looked sad
My first santa fruit tray had a beard that turned beige because I sliced the bananas two hours early. The fix was simple: later assembly and a very light lemon-water brush. I also placed the eyes too close together, giving Santa the expression of someone who had just discovered the missing gift receipts. Moving the blueberries wider apart fixed the face immediately.
Another common failure is a tray that looks like a red triangle with fruit dumped underneath. The solution is to create clear layers: hat, white trim, face, beard, then border. Keep the edges of each section visible. You can use a drinking glass to trace a gentle face outline before adding fruit, but do not press hard enough to mark the platter.
If the strawberries are too small, overlap more of them rather than piling them high. If the bananas are bending, switch to thicker slices or use apple wedges for the face. And if the design refuses to cooperate, stop rearranging it for 25 minutes. A delicious fruit platter does not need to pass an art exam.
Easy ways to personalize your santa fruit tray
For children, add a small bowl of vanilla yogurt as dipping sauce and let them place the blueberry eyes. For a brunch table, surround the design with toasted coconut, granola, or small cheese cubes. For an adult gathering, add pomegranate seeds around the edge for jewel-like color and a pleasant tart bite.
A santa fruit tray can also become a snowman, reindeer, or simple Christmas tree when the available fruit changes. Use apple slices for a tree trunk, kiwi for branches, and red grapes as ornaments. The same assembly habits apply: dry the fruit, build large color blocks first, and add tiny details last.
This is not the centerpiece to make when you want perfection. It is the one to make when guests are arriving, the kitchen is already busy, and somebody has eaten half the strawberries. Put on the apron and go ahead and do it. It doesn't matter if it's perfect or not, just make it delicious. The dough will forgive you. So will I.

No comments yet.