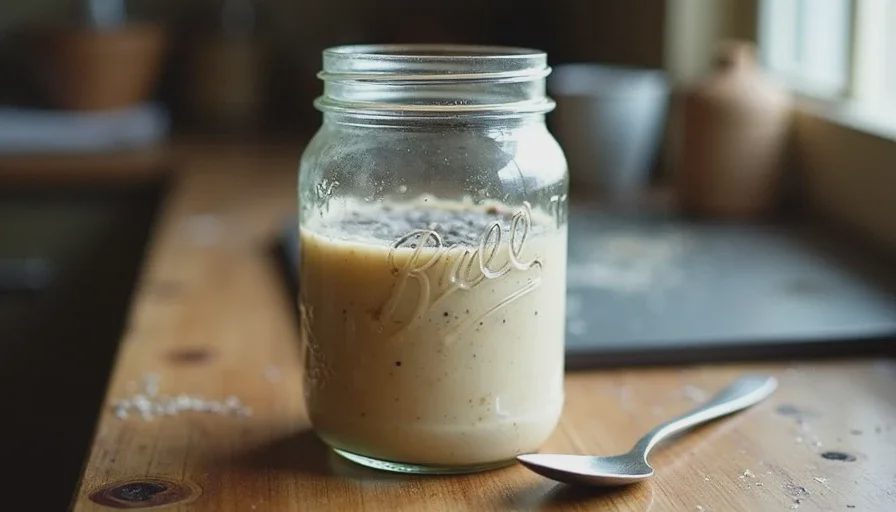
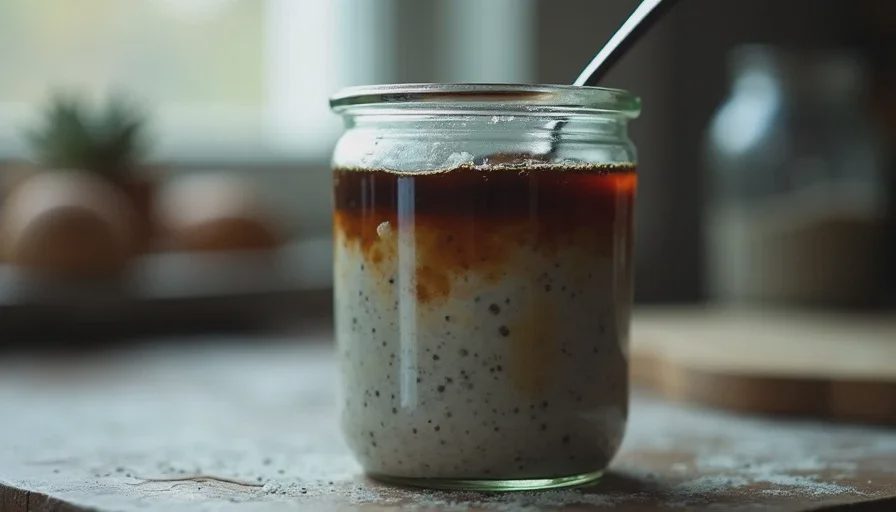
I opened the fridge on a Tuesday morning and knew immediately. Gus had a layer of dark liquid on top and the paste underneath looked flat and gray. No bubbles. No rise. The smell was sharper than usual, almost like nail polish remover mixed with old apples. I had left him unfed for twelve days while life got loud—work shifts at the bakery, Lily’s first real cold, a week of dinners that did not involve flour. I poked the surface. Nothing moved.
Most people would have thrown him out. I almost did. Then I remembered how many times Gérard had looked at a neglected starter in the bakery and said, “Not dead. Just angry.” So I tried the slow way first.
What “dead” usually means
A starter is a living culture of wild yeast and lactic acid bacteria. When it runs out of food, the yeast activity drops and the bacteria keep producing acid. The liquid on top is hooch—mostly alcohol and water. Dark hooch means the starter has been hungry for a while. A pink or orange tint, or a truly foul smell like rotting cheese, is different. That is contamination and the starter should be discarded. Gray, flat, and alcoholic is usually just starvation.
In Denver the problem shows up faster than in humid climates. The air is dry, so the surface of the starter can form a thicker skin and the whole culture dehydrates a little even in the fridge. I have learned to keep the jar lid slightly looser and to check every week even when I am not baking.
A truly dead starter will not respond to repeated feedings. It stays flat, develops mold, or smells irreversibly bad. Most of the “dead” starters people mourn are simply deeply dormant.
The revival method that actually worked
I did not try to shock him back with warm water or huge feedings. That often creates a weak, unbalanced culture that looks active for one cycle and then collapses. I used small, frequent, cool feedings to rebuild strength gradually.
Day 0 – Assessment and first clean
I poured off most of the hooch. I scooped out 20 g of the paste from the middle of the jar, avoiding the dried edges. I discarded the rest. Into a clean jar I put the 20 g starter + 20 g flour + 20 g water (room temperature, about 75°F). Mixed until smooth. Loosely covered. Left on the counter.
Day 1 – Morning and evening
Morning: the mixture had risen only a little. I discarded down to 20 g again and repeated the 1:1:1 feeding (20 g starter / 20 g flour / 20 g water).
Evening: same thing. Still modest activity, but a few small bubbles appeared.
Day 2 – Same rhythm
Two more 1:1:1 feedings. By the evening of Day 2 the starter was roughly doubling in 8–10 hours and smelled milder, more like yogurt than solvent.
Day 3 – Increase the food
Once it was doubling reliably, I switched to a slightly larger feeding: 20 g starter + 40 g flour + 40 g water (1:2:2). This gives the yeast more to eat without drowning the culture in one go. By the end of Day 3 it was doubling in 6–7 hours at my kitchen temperature.
Day 4 – Back to normal strength
I moved to my usual maintenance ratio: 20 g starter + 50 g flour + 50 g water. It peaked in about 5 hours with a domed surface and plenty of large and small bubbles. Smell was clean and tangy. That is when I declared him alive again.
Total time from flat-and-gray to fully reliable: four days. I used ordinary bread flour the whole way. No special rye or pineapple juice or other internet tricks. Those can help in some cases, but they were not necessary here.
Signs the revival is working
Working:
Small bubbles appear within the first 24 hours
The mixture rises, even if only 30–50 % at first
The smell moves from sharp alcohol toward yogurt or mild cheese
The texture becomes stretchy instead of pasty
Not working:
No bubbles after three full days of twice-daily feedings
Pink, orange, or fuzzy mold
Smell that stays putrid or turns to rotting meat
Surface that remains completely flat and watery no matter how many times you feed
If you hit the “not working” list, compost it and start fresh. There is no prize for saving a contaminated culture. A new starter takes 7–10 days to establish. That is faster than nursing a truly failed one.
How I keep it from happening again
I used to think fridge storage meant I could ignore the jar for weeks. That works only if the starter is very strong and the jar is well-sealed. Now I do three simple things:
Feed it the day before it goes into the fridge so it goes in at peak.
Check it every 7–8 days even if I am not baking. If hooch appears, I pour it off and give a small feeding.
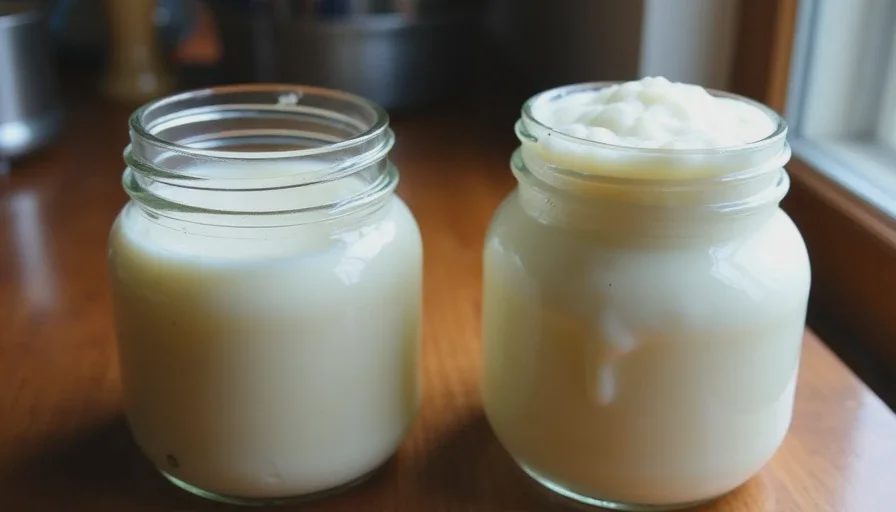
Keep a backup. Every month or so I take 30 g of active starter, mix it with flour into a thick paste, and let it dry completely on parchment. The dried chips live in a jar in the cupboard. They can be revived the same way as a liquid starter if the main culture ever fails for real.
In a dry climate I also make sure the jar is not bone-dry on the sides before it goes into the fridge. A little moisture on the walls helps more than people think.
What the whole episode taught me
Starters are more resilient than the anxious internet makes them look. They can take a lot of neglect and still come back if you feed them consistently and do not panic. The same is true of most dough problems. The fix is usually smaller and quieter than the drama surrounding it.
Gus has been through other rough patches since that Tuesday. None of them killed him. Each time I use the same slow rebuild: small equal feedings until he shows real strength, then gradual increase. It takes a few days. It does not take magic.
If your starter looks the way mine did—flat, gray, alcoholic—try the revival before you throw it out. Measure the 20 g. Feed it. Wait. Watch for the first tiny bubbles. They are usually there. And if they are not, you will know soon enough, and you can begin again without guilt.
The dough will forgive you. So will the starter. Most of the time.

No comments yet.