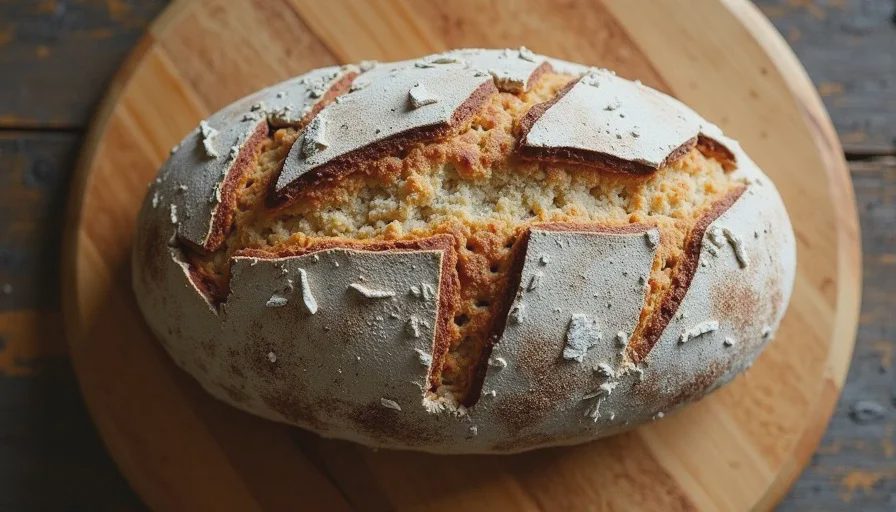
A flat loaf is the most common complaint I hear from people who have been trying sourdough for a few months. The dough looked fine. The starter bubbled. Then the finished bread came out short, dense, or spread sideways. Most advice online throws every possible variable at you at once. That is not helpful when you are standing in the kitchen trying to figure out what went wrong this time.
I rank the causes by how often they are the real problem in home kitchens, based on the loaves I have ruined myself and the ones people have shown me. Fix the higher ones first. The lower ones matter, but they rarely act alone.
1. The starter was not strong enough (or the bulk fermentation was too short)
This is the single most common reason a loaf stays flat. A starter that has not doubled reliably since its last feeding simply does not have enough active yeast to inflate the dough. Even if you mix and shape perfectly, there is not enough gas production during bulk or in the oven.
How to diagnose:
Look back at the starter on mix day. Did it at least double within 4–8 hours at room temperature? Did it look domed and full of bubbles, or just mildly active? During bulk, did the dough increase by roughly 50–75 % and feel light and jiggly, or did it stay dense and sluggish?
How to fix:
Feed the starter and wait until it peaks before you mix. In a 72–75°F kitchen this is usually 5–8 hours after a 1:2:2 or 1:3:3 feeding. At Denver elevation and with drier air, I sometimes give it an extra hour. During bulk, stretch-and-fold on schedule and watch the dough, not the clock. If it has not grown and softened after 4 hours, keep going. Under-fermented dough cannot be rescued by a long cold proof.
2. Final proof went too far
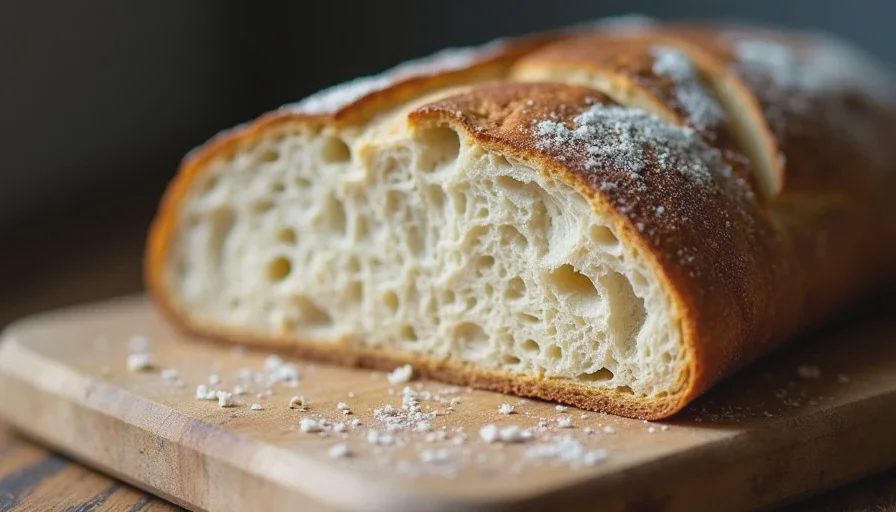
Over-proofed dough has already used up most of its gas-producing power. When it hits the heat, there is little left for oven spring. The loaf may look nicely risen in the banneton and then collapse or stay flat in the oven.
How to diagnose:
The dough felt very soft and fragile when you turned it out. It may have deflated slightly when scored. The finished loaf is wide and low with a tight or gummy crumb. If you poked the dough before baking, the indentation stayed instead of slowly springing back.
How to fix:
Shorten the final proof. Cold proofing in the refrigerator for 12–16 hours is more forgiving than room-temperature proofing because the yeast slows down. If you prefer same-day baking, check the dough earlier than the recipe suggests. The poke test is still useful: a gentle press should leave a dent that fills back halfway within a few seconds. Fully proofed dough that needs to go into the oven right away can sometimes be saved by scoring more deeply and baking immediately in a very hot Dutch oven, but prevention is better.
3. Shaping lacked surface tension
A loosely shaped loaf has no structure to hold the gas that is produced. It spreads sideways instead of rising up. This is especially visible in higher-hydration doughs and in home ovens that do not provide aggressive spring.
How to diagnose:
The dough felt slack after shaping. It spread in the banneton. The finished loaf is wide, low, and may have a pale or uneven crust. You may see large irregular holes or a dense band at the bottom.
How to fix:
Pre-shape, rest 20–30 minutes, then final-shape with intention. Use the bench scraper to create tension by dragging the dough against the counter. The surface should feel taut, like a drum skin, without tearing. If the dough is very wet, a light dusting of flour on the counter and slightly lower hydration next time help. Practice the motion on a scrap of dough if needed. Tension is a skill that improves faster than most people expect once you focus on it.
4. Oven spring conditions were weak
Even well-fermented, well-shaped dough needs rapid heat and some steam in the first 15–20 minutes. Without them the crust sets before the loaf can expand. Home ovens are the usual weak point here.
How to diagnose:
The loaf had decent volume in the banneton but opened poorly or not at all. The crust may be thick and pale or dark only on top. There is little to no ear along the score.
How to fix:
Preheat the Dutch oven (or baking stone + vessel) for a full 45–60 minutes at 450°F. Load quickly and keep the lid on for the first 20 minutes. Do not open the door to peek. If you do not have a Dutch oven, create the best steam chamber you can with a metal bowl or tray of water, knowing the results will be less consistent. Make sure the oven actually reaches the set temperature; many home ovens run cooler than the dial claims.
5. Flour, hydration, or environment worked against you
This ranks last because it is real but over-blamed. A weak flour (low protein), hydration that is too high for your handling skill, or a very cold/dry kitchen can contribute to flat loaves. They rarely cause the problem by themselves if the first four factors are solid.
How to diagnose:
You are using all-purpose flour with low protein and high hydration (above 75 %) and the dough always feels soupy. Or your kitchen is consistently below 68°F and bulk takes forever. At altitude the dough can feel wetter and move faster once it is warm.
How to fix:
Switch to bread flour (12–13 % protein) or blend in a little whole wheat for strength. Drop hydration by 3–5 % until your shaping feels controllable. In a cold kitchen, use slightly warmer water or extend bulk. In Denver I often hold back 10–15 g of water on a 500 g flour dough compared with sea-level formulas and watch the dough feel rather than the percentage.
How to use this ranking next time
When a loaf comes out flat, walk backward through the list in order. Check the starter strength and bulk notes first. Then the final proof timing. Then the shaping tension. Then the oven setup. Only after those are addressed do you start changing flour or hydration in a meaningful way.
Write down what the dough felt like at each stage. The note “starter only rose 30 %, bulk felt heavy” is more useful than any photo of the finished flat loaf. The next bake becomes an experiment with one clear variable instead of a hopeful repeat of the same mistakes.
Flat bread is data. It is not a verdict on whether you can bake. Most of the loaves I threw away in the first year were flat for one of the reasons above. Once I started ranking the causes instead of guessing, the tall ones began to appear more often than the short ones.
The dough will tell you what it needed. You just have to rank the answers in the right order.


No comments yet.