No-knead bread is the recipe I reach for when I want a proper loaf but do not want flour on every surface of the kitchen. You stir the dough with a spoon, let time do the kneading, and bake it in a covered pot. That is the whole magic trick. It is not a guaranteed success story, and your loaf might come out lopsided. Mine certainly has. But the crust will be crisp, the center will be tender, and the dough will forgive you. So will I.
The ingredients and equipment
For one medium loaf, weigh 400 grams bread flour, 300 grams water, 8 grams fine sea salt, and 1 gram instant yeast. That is 75 percent hydration, which sounds like a science project but simply means the dough will be sticky and relaxed. Bread flour gives the loaf more chew, while all-purpose flour works if that is what you have. With all-purpose flour, hold back 10 grams of the water at first and add it only if the dough feels stiff.
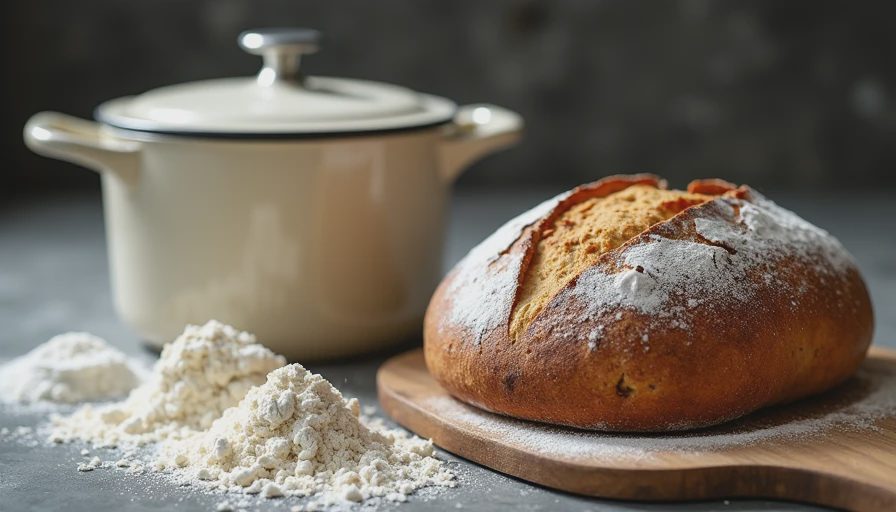
You need a large bowl, a wooden spoon or sturdy spatula, parchment paper, and a Dutch oven or other heavy pot with a lid. A 5-quart or 6-quart pot is comfortable. If you do not own one, a covered oven-safe casserole can work, provided its lid and handles are rated for at least 450 degrees Fahrenheit. You do not need a stand mixer, banneton, razor, or expensive baking stone. I have made no-knead bread in a chipped mixing bowl and scored it with a clean kitchen knife.
Mix the dough and let time work
Put the flour, yeast, and salt in the bowl and stir to distribute them. Pour in 290 grams of the water and mix until no dry flour remains. Add the final 10 grams if you see powdery patches. The dough should look shaggy, sticky, and slightly messy. Do not knead it smooth. Cover the bowl tightly with a plate, lid, or reusable cover and leave it at room temperature for 12 to 18 hours.
The clock matters less than the dough’s appearance. In a warm kitchen around 75 degrees, 12 hours may be enough. In my Denver kitchen during winter, 16 hours is more realistic. When ready, the dough should be puffy, dotted with bubbles, and close to doubled. If it smells sharply alcoholic and has collapsed into a flat puddle, it fermented too long. You can still bake it, but expect a flatter loaf and less flavor. Next time, shorten the first rise or move the bowl to a cooler spot.
Turn the dough onto a lightly floured counter. Wet or flour your hands, then fold each side toward the center four times, rotating the dough as you go. This takes about 30 seconds. You are building a little strength, not wrestling a bear. Flip the dough seam-side down and gently round it with cupped hands.
Set the dough on parchment and cover it with a clean towel. Let it rest for 45 to 60 minutes while the oven heats. The second rise is finished when the dough looks slightly swollen and springs back slowly after a gentle fingertip press. If the dent disappears immediately, give it another 15 minutes. If the dough deflates when touched, it has gone too far; bake it now rather than trying to reshape it.
Bake it hot for a serious crust
Place the covered Dutch oven in the oven and preheat to 450 degrees Fahrenheit for at least 30 minutes. Heating the pot first helps the dough expand quickly and creates the bold crust people expect from no-knead bread. Lift the dough by the parchment and lower both into the hot pot. Use a sharp knife to make one slash about half an inch deep across the top. The cut gives expanding steam a planned escape route.
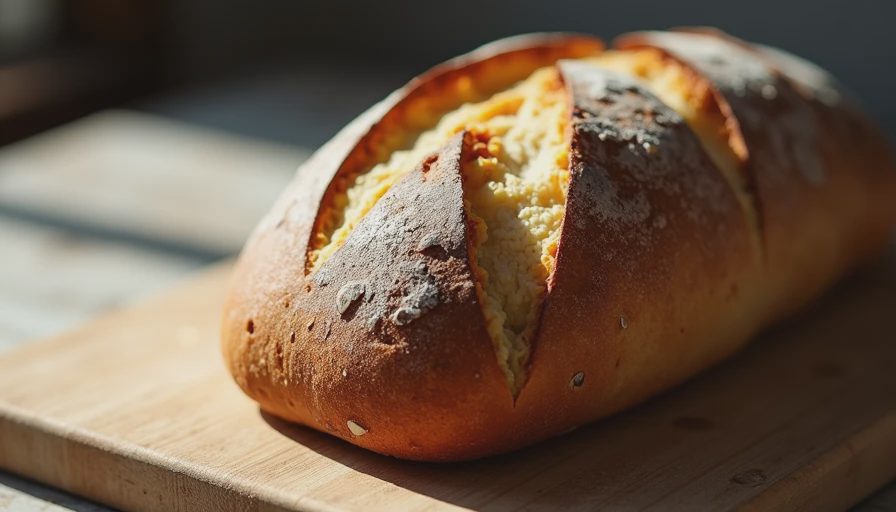
Cover and bake for 30 minutes. Remove the lid and bake for another 15 to 20 minutes, until the crust is a deep brown and the loaf sounds hollow when tapped. If your pot browns aggressively, reduce the uncovered stage to 12 minutes. If the crust is pale, leave it in for five more minutes. The internal temperature should be about 205 to 210 degrees, but color is the more useful everyday clue.
Move the loaf to a rack and wait at least one hour before slicing. I know. The smell is rude. Cutting early releases steam and can leave the center gummy, even when the outside looks perfect. A serrated knife will give you cleaner slices, but a regular chef’s knife works with a gentle sawing motion.
What went wrong with my loaf
The most common failure with no-knead bread is a dense, damp center. Usually the loaf was underbaked, sliced while hot, or made with dough that never fermented properly. Check the yeast’s expiration date, use a kitchen scale, and watch for bubbles rather than relying only on the timer. A cold kitchen can add several hours to the first rise.
If the dough spreads into a pancake, it likely fermented too long or needed more structure during shaping. Fold it firmly before the second rise and use a smaller pot so the sides provide support. If the loaf has a hard crust but tastes bland, the salt may have been missed or unevenly mixed. Eight grams is not decoration here; it changes both flavor and fermentation.
If the bottom burns before the top colors, place a baking sheet on the rack below the pot or use a lighter-colored vessel. If the crust is too thick, reduce the uncovered baking time and let the loaf cool under a towel. When mine came out gummy after two tries, I discovered my oven ran cool by nearly 25 degrees. An inexpensive oven thermometer fixed more than another recipe ever could.
Make the recipe fit your week
No-knead bread is flexible enough for a Friday-night mix and Saturday lunch. For a stronger flavor, reduce the yeast to 0.5 grams and let the dough rise 18 to 24 hours in a cool room. For a same-day loaf, use 2 grams of yeast and look for a puffy dough after 5 to 7 hours. The faster version will taste less complex, but it is still far better than grocery-store bread that has been waiting in a plastic bag.
You can replace up to 80 grams of the bread flour with whole wheat flour. Add 5 to 15 grams more water only if the dough feels unusually firm, because whole wheat absorbs moisture slowly. A tablespoon of chopped rosemary, 80 grams of grated cheddar, or 60 grams of toasted walnuts can be folded in during shaping. Keep additions modest; too many heavy ingredients can prevent a tall loaf.
Store the cooled loaf at room temperature in a paper bag or loosely wrapped towel for two days. Avoid the refrigerator, which makes bread stale faster. Slice and freeze anything you will not eat by then. Toasted slices are excellent with eggs, soup, or butter and honey, including the ugly end piece Lily always claims first.
The honest reason to make it
This method is not about producing a flawless bakery boule. It is about putting four ingredients in a bowl, sleeping through the hard part, and pulling something warm from the oven the next day. No-knead bread rewards attention without demanding constant attention, which is exactly what I want after a long week.
Take notes the first time: room temperature, rise length, flour brand, and baking color. That tiny data trail will tell you more than a dozen glossy photos. If the loaf fails, identify whether the issue was fermentation, shaping, heat, or slicing, then adjust one variable. If it is truly gummy and collapsed, throw it in the trash and start again. It does not matter if it is perfect or not, just make it delicious. Put on the apron and go ahead and do it.


No comments yet.