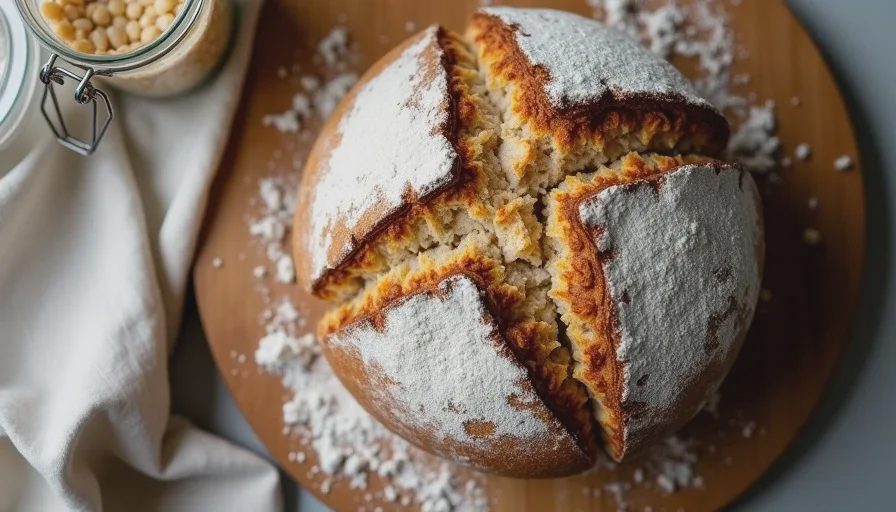
Your first sourdough loaf does not need to be pretty. It needs to rise, bake through, and taste like bread instead of disappointment. This timeline is built for that. Seventy-two hours from the moment you decide to bake until the loaf is cooling on the counter. It assumes you already have a healthy starter. If yours is sluggish or brand new, feed it for a few days first until it doubles reliably within 4–6 hours at room temperature.
I live in Denver. The air is dry and the elevation is high. That changes timing a little. I note the adjustments where they matter. If you bake at sea level, your dough will usually move a bit slower. Watch the dough, not only the clock.
You need almost nothing special. A kitchen scale is non-negotiable. Cups lie. A large mixing bowl, a bench scraper or spatula, a clean kitchen towel or plastic bag, and a Dutch oven or any heavy lidded pot that can handle 450°F. That is enough.
What you need and what the numbers mean
Starter: 100 g active, bubbly starter that has doubled since its last feeding. I keep Gus at 100% hydration (equal weights flour and water).
Dough formula (one medium loaf):
100 g active starter
350 g water (room temperature, about 75–78°F)
500 g bread flour (or a mix of 400 g bread + 100 g whole wheat if you want more flavor)
10 g fine sea salt
That gives roughly 70% hydration. Soft enough to handle, stiff enough that a beginner will not drown in sticky dough. At high altitude the dough can feel a little wetter than the same numbers at sea level because the flour is drier. If it feels soupy after mixing, hold back 20 g of the water next time.
Room temperature in this timeline means 72–75°F. If your kitchen is cooler, everything stretches. If it is warmer than 78°F, shorten the bulk fermentation.
The 72-hour timeline
Hour 0 – Feed the starter (evening of Day 1)
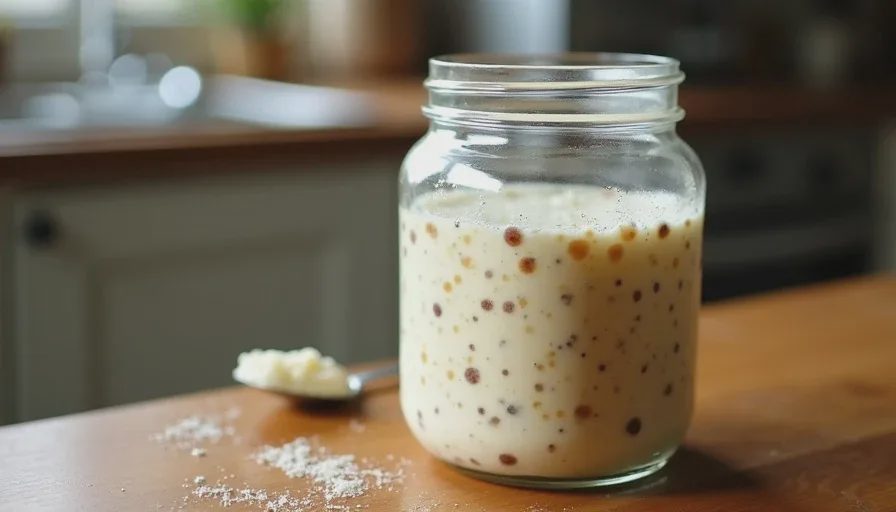
Take your starter out of the fridge if it lives there. Discard (or use) all but 20–30 g. Feed it 50 g flour + 50 g water. Mix until no dry bits remain. Leave it on the counter. You want it peaked and ready in the morning. In a 72–75°F kitchen this usually takes 8–12 hours. In Denver the dry air can slow surface activity a little, so I sometimes cover the jar loosely with a damp cloth.
Hour 10–12 – Mix the dough (morning of Day 2)
When the starter has at least doubled and looks full of bubbles, it is ready. In a large bowl combine 100 g starter and 350 g water. Stir until the starter is mostly dissolved. Add the 500 g flour. Mix with a spoon or your hand until no dry flour remains. The dough will look shaggy. Cover and leave it for 30–45 minutes. This is the autolyse. It lets the flour hydrate so the later kneading is easier.
After the rest, sprinkle the 10 g salt over the dough. Wet your hand and pinch and fold the salt in. Then do a short series of stretch-and-folds right in the bowl: grab one side, stretch it up, and fold it over the center. Turn the bowl and repeat 8–10 times. The dough will start to smooth out. Cover again.
Hours 12–16 – Bulk fermentation with folds
Over the next 3–4 hours, give the dough three or four more sets of stretch-and-folds, spaced 30–45 minutes apart. Each set is just 4–6 folds. You are building strength without hard kneading. By the end of bulk the dough should feel airy, jiggly, and roughly 50–75% larger. Do not chase a perfect double. At altitude dough can look ready a little earlier than the recipes written for sea-level kitchens.
If your kitchen is cool, this stage may take 5–6 hours. If it is warm, check at 3 hours. The dough is ready when it feels light and a wet finger leaves a small dent that slowly fills back in.
Hour 16–17 – Pre-shape and bench rest
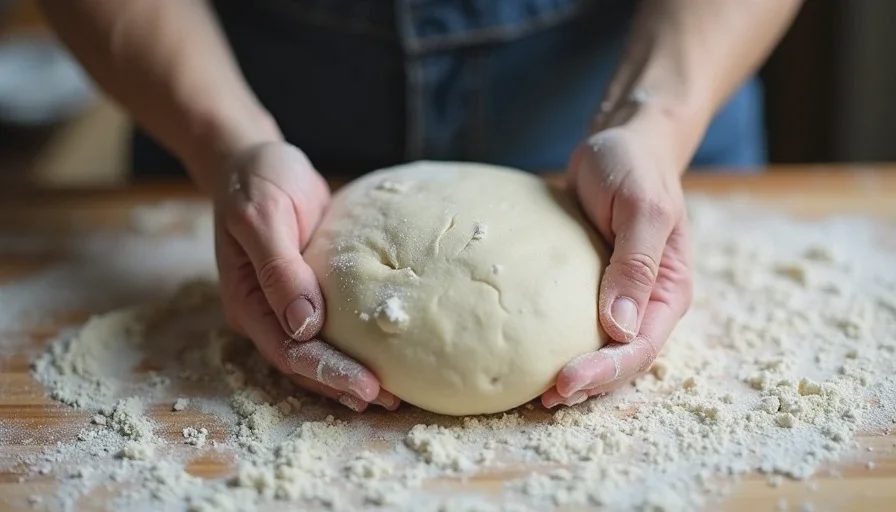
Tip the dough onto a lightly floured counter. Shape it gently into a loose round with a bench scraper. Do not degas it completely. Cover with a towel and let it rest 20–30 minutes. The dough will relax and spread a little. That is normal.
Hour 17–18 – Final shape and cold proof
Shape the dough into a tight boule or batard. The goal is surface tension without tearing the skin. Place it seam-side up in a floured bowl or banneton (or a plain bowl lined with a floured towel). Cover and put it straight into the refrigerator. Cold proof lasts 12–16 hours. This is the long overnight rest that develops flavor and makes scoring easier the next day.
In Denver the fridge is often a little drier. If the surface of the dough looks dry after a few hours, lay a piece of plastic wrap loosely over it before covering the bowl.
Hour 30–34 – Bake day (morning or midday of Day 3)
Preheat your Dutch oven inside the oven at 450°F for a full 45–60 minutes. Cold dough scores more cleanly, so take the loaf straight from the fridge. Turn it out onto parchment, score with a sharp blade (one confident slash ½ inch deep is enough for a first loaf), and lower it into the hot pot. Lid on.
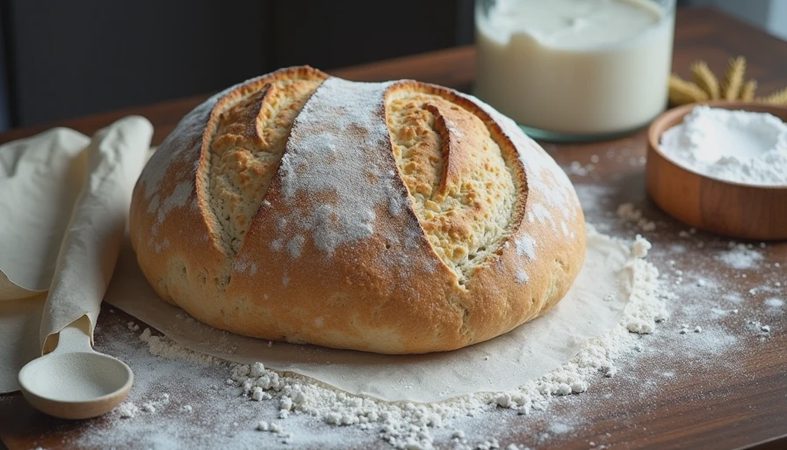
Bake covered 20 minutes. Then remove the lid and bake another 20–25 minutes until the crust is deep brown. Internal temperature should reach at least 205–210°F. At altitude water boils at a lower temperature, so the crumb can sometimes finish a couple of degrees earlier. Trust the color and the hollow sound when you tap the bottom more than the exact number.
Cool the loaf on a rack for at least 90 minutes, preferably two hours. Cutting too early turns the crumb gummy. I know it is hard to wait. Wait anyway.
Where first loaves usually go wrong
Starter not strong enough.
If it has not doubled since the last feeding, the dough will move slowly or not at all. Feed it again and wait. There is no prize for starting with a weak starter.
Bulk fermentation too short or too long.
Under-fermented dough stays dense. Over-fermented dough collapses when you shape it. The window is wider than most people think. Learn the feel: light, slightly domed, full of small bubbles.
Shaping too tight or too loose.
Too tight and you tear the surface. Too loose and the loaf spreads in the oven. Practice on the pre-shape. The final shape is just a tighter version of the same motion.
Scoring too timid or too deep.
A shallow score does almost nothing. A score that cuts into the interior can deflate the loaf. One decisive cut at a slight angle is enough.
Oven not hot enough.
A lukewarm Dutch oven steals oven spring. Full preheat matters more than most beginners realize.
If the loaf comes out flat, dense, or oddly shaped, write down what the dough felt like at each stage. That note is more useful than any recipe. The next one will be better because of it.
This timeline is deliberately slow. The long cold proof is the part that makes a first loaf taste like real bread instead of a science experiment. You can compress it later once you know how your starter and kitchen behave. For now, give the dough the full 72 hours. It will forgive small mistakes. So will I.
When the loaf is finally cool, slice it. Look at the crumb. Taste it plain first. Then decide what you want to change next time. That is how every decent baker I know actually learned.


No comments yet.