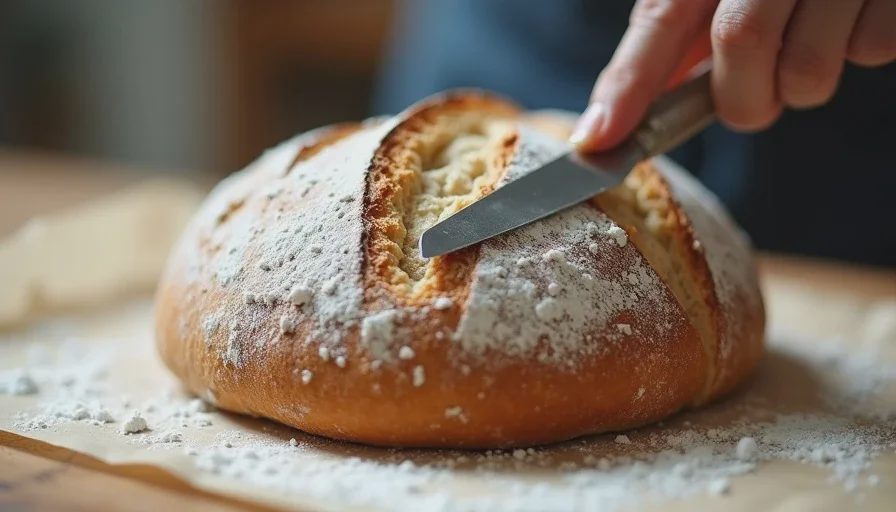
Gérard did not care about pretty ears on Instagram. He cared that the loaf opened where he told it to open and that the crumb stayed open instead of tearing sideways in the oven. The first time I scored in front of him I hesitated halfway through the cut. The blade dragged. The dough deflated a little. He looked at the loaf, then at me, and said something in French that did not need translation. Then he took the lame out of my hand and showed me once, fast and clean. “Again. No shaking.”
I scored hundreds of loaves under that standard before he stopped watching every single one. What follows is the version that actually stuck, adjusted for a home kitchen and a regular oven instead of a deck oven that hits 500°F without trying.
Why the cut matters more than the pattern
Scoring is not decoration first. It is controlled weak-point creation. When the dough hits the heat, the gases inside expand fast. If the surface has no intentional weak spot, the loaf splits wherever the skin is thinnest—usually the side or the bottom. That sideways blowout is what people call “the loaf exploded.” A clean score gives the gases a planned exit so the loaf can spring upward instead of sideways.
At home the stakes are higher than in a bakery. Your oven spring window is shorter and less intense. A timid or ragged score costs you more height than it would in a commercial oven. That is why I still score every loaf the same way Gérard drilled into me: one decisive motion, correct depth, correct angle, no second-guessing mid-cut.
The only tools you actually need
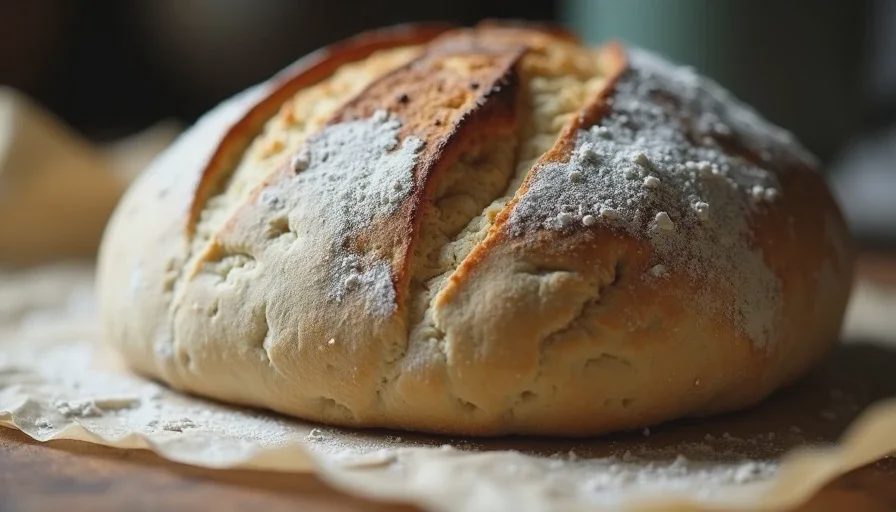
A proper bread lame with a curved or straight handle is nice. A plain single-edge razor blade held between your fingers works just as well. I used the cheap hardware-store version for months. Replace the blade the moment it starts to drag. A dull blade compresses the dough instead of slicing it. That compression is what makes the cut look torn and reduces spring.
A sharp kitchen knife can work in a pinch, but the thicker blade creates more drag. I avoid it unless I have nothing else. Flour the surface of the dough lightly right before you score so the blade does not stick. Too much flour and the cut looks messy; too little and the blade catches.
When to score and how the dough should feel
Cold dough from the refrigerator is the easiest for beginners. The surface is firmer, the blade meets less resistance, and small mistakes in tension show less. I score almost every home loaf straight from the fridge after a 12–16 hour cold proof. If you are baking the same day and the dough is at room temperature, make sure it is still well-tensioned on the surface. Soft, over-proofed dough will deflate under even a good cut. Under-proofed dough will fight the blade and then burst elsewhere in the oven.
In Denver the surface of a cold loaf can dry faster in the fridge. If the skin looks tight and a little leathery, that is fine for scoring. If it has formed a thick dry crust, mist it very lightly or the score will look ragged.
The basic cut that teaches everything else
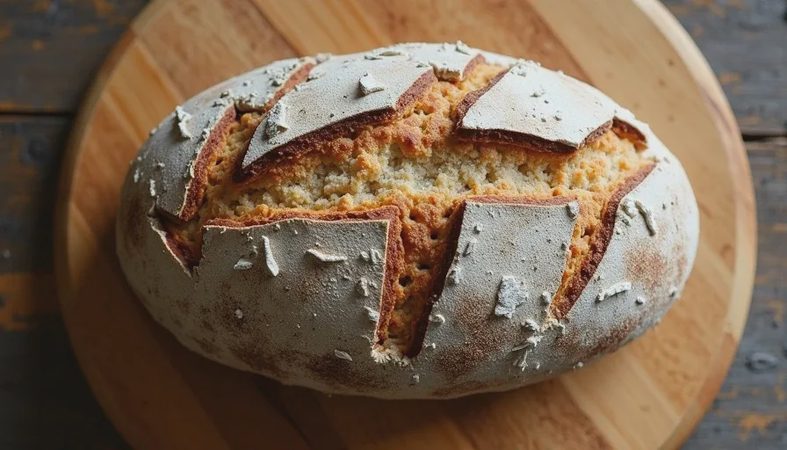
Start with a single long slash. Hold the blade at about 30–45 degrees to the surface of the dough, not straight up and down. A vertical cut tends to close back up. An angled cut creates a flap of skin that lifts into an ear when the loaf springs. Depth should be roughly ½ inch (about 1–1.5 cm) at the center of the cut, shallower at the ends. Too shallow and the loaf ignores the score. Too deep and you release too much gas before the oven even gets involved.
Move the blade in one continuous motion toward you or away from you—whichever feels more stable. Do not saw. Do not stop halfway and restart. The hesitation line is visible in the finished crust and it weakens oven spring. If you need to practice the motion, do it in the air first, then on a scrap of dough or even a pillow. The muscle memory matters more than people admit.
Once the single slash feels reliable, you can add a second cut or a simple cross. Keep the same angle and depth. Fancy patterns come later, and most of them are less important than a clean primary cut.
What usually goes wrong and how to read the result
Hesitation or multiple passes.
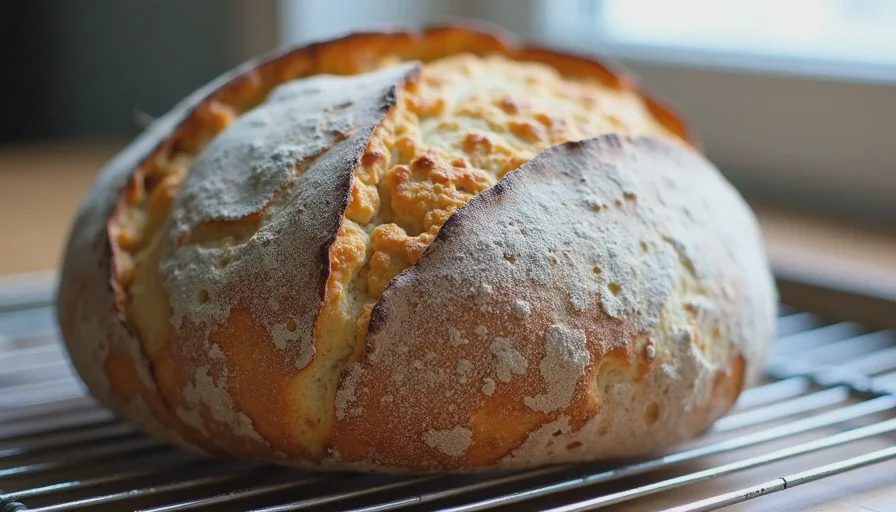
The score looks fuzzy or stepped. Oven spring is reduced because the weak point is not clean. Fix: commit to the motion. Speed helps more than slow precision at the beginning.
Blade too vertical.
Little or no ear forms. The cut may still open, but the loaf looks flatter. Fix: lower the angle until you are almost slicing under the skin.
Dough too warm or over-proofed.
The loaf deflates as soon as the blade touches it. You will see the surface wrinkle. Fix: shorter final proof next time, or move to cold proofing.
Dough under-proofed or too tight.
The score opens poorly and the loaf bursts on the side. Fix: give bulk fermentation more time until the dough feels lighter and more aerated.
Dull blade.
The cut tears instead of slices. The edges look rough and the ear never forms cleanly. Fix: new blade. I change mine every few loaves.
At altitude the dough can spring a little faster once it hits the heat. A slightly deeper score (closer to ¾ inch in the middle) sometimes helps keep the opening controlled. I learned that the hard way after a few loaves that opened more aggressively than the same formula at lower elevation.
How I still practice
Even now I score the first loaf of a batch slower than the rest. I look at the surface tension, decide the exact line, then cut without looking away. If the ear forms and the crumb opens under it, the cut did its job. If the loaf bursts elsewhere, I write down whether the dough felt tight, soft, cold, or warm. That note is more useful than any photo of a perfect ear.
You do not need a professional lame or a thousand practice loaves. You need a sharp edge, a clear decision about where the cut should go, and the willingness to make the motion once instead of three times. The shaking stops when the fear of a bad cut becomes smaller than the cost of a hesitant one.
Gérard never praised a pretty score. He only nodded when the loaf opened exactly where the blade had been. That is still the only standard I use. Make the cut. Let the oven do the rest. The dough will open. And if it does not, the next one will teach you why.

No comments yet.