A sourdough starter is just flour, water, wild yeast, and bacteria living together in a jar. It sounds a little grander than that, mostly because the jar becomes a tiny pet you feed before breakfast. Mine is named Gus, and he has survived neglect, Denver's dry air, and one memorable week when I forgot him behind a mixing bowl.
You do not need a fancy proofing box or imported flour to make a healthy sourdough starter. You need a scale, a clean jar, flour, water, and a willingness to notice what the mixture is doing. It may take seven to fourteen days to become reliably strong. That is normal, not a personal failure.
How to make a sourdough starter from scratch
On day one, combine 50 grams whole-wheat flour with 50 grams room-temperature water in a clean 1-quart jar. Stir until no dry flour remains. Scrape down the sides, cover the jar loosely with a lid, and leave it at about 70 to 78 degrees Fahrenheit for 24 hours.
On day two, you might see bubbles, or you might see absolutely nothing. Either result is fine. Discard all but 50 grams of the mixture, then add 50 grams all-purpose flour and 50 grams water. Stir well. Discarding is not a cruel ritual; it keeps the jar from growing into a flour swamp and gives the remaining microbes enough fresh food.
Repeat that feeding every 24 hours. Around days three through five, the starter may rise dramatically and then collapse. This is the famous false start. It is activity, but not yet the stable yeast community you need for bread. Continue feeding rather than baking with it.
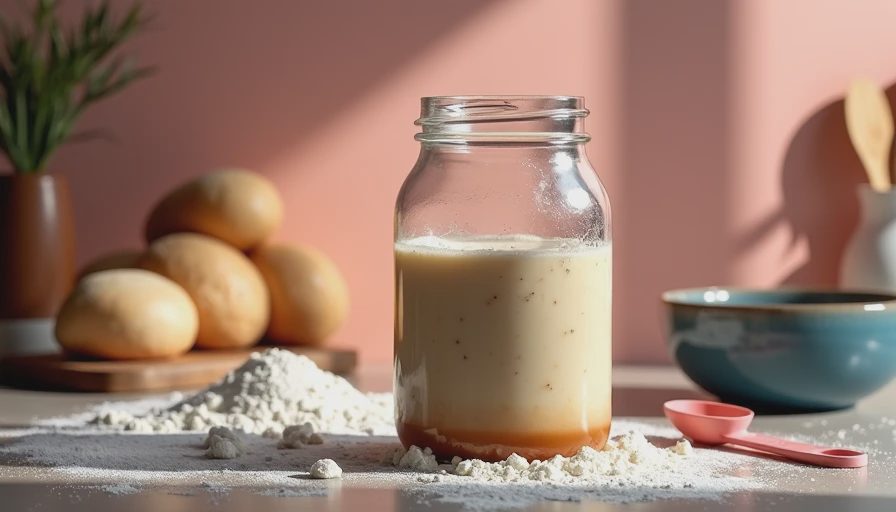
By roughly day seven, the sourdough starter should smell pleasantly tangy, fruity, or lightly yeasty. When fed equal weights of starter, flour, and water, it should double in volume within four to eight hours and show bubbles throughout, not only on top. Mark the starting level with a rubber band so you can judge growth instead of guessing.
A thick paste is easier to read than a loose batter. If yours pours like pancake batter, reduce the water at the next feeding to 40 grams. Different flours absorb different amounts, and whole-wheat flour usually creates a thicker, more active mixture.
Feeding ratios that actually make sense
The common 1:1:1 feeding means one part starter, one part flour, and one part water by weight. For a manageable amount, keep 25 grams starter and add 25 grams flour plus 25 grams water. This produces 75 grams, enough to observe activity without wasting half a bag of flour each day.
If you need a larger amount for baking, use a 1:3:3 feeding. Keep 20 grams starter, then mix in 60 grams flour and 60 grams water. A larger feeding gives the yeast more food and usually takes longer to peak. In a warm kitchen, it might be ready in six hours; in a cool kitchen, it could take ten or twelve.
The best time to use sourdough starter is near its peak, when it has doubled or tripled, looks domed on top, and has bubbles along the sides. If the top has flattened and the mixture has a sharp acetone smell, it is hungry. Feed it and wait for another rise. The smell is information, not an emergency.
For a mild loaf, use a starter shortly after it peaks. For a more pronounced tang, let it mature longer before feeding or use a small amount in a long fermentation. Flavor comes from fermentation time, temperature, and flour choice, not from dumping extra starter into the dough.
How to store and maintain your starter
If you bake once or twice a week, keep the sourdough starter in the refrigerator. Feed it, leave it at room temperature for one to two hours, then cover it and chill it. Before baking, bring it out and give it one or two room-temperature feedings until it doubles predictably.
For daily baking, leave it on the counter and feed every 12 to 24 hours, depending on how quickly it rises. A warm kitchen speeds fermentation. A cold kitchen slows it. The calendar is less useful than the starter's rise, fall, smell, and texture.
Use a clean jar when the sides become coated with dried paste. You do not need to sterilize it, but old crust can grow mold and make the jar difficult to read. Keep the lid loose enough to release gas. A tightly sealed container can build pressure as fermentation continues.
If you are going away for a month, make the starter thicker by feeding it with less water, let it begin fermenting, and refrigerate it. A dark liquid called hooch may collect on top. Pour it off or stir it in, then feed the starter several times. If you see fuzzy mold or pink, orange, or red discoloration, throw it in the trash and begin again.

Troubleshooting the most common failures
A starter that refuses to rise is often too cold, too thin, or being fed before it has finished eating. Move it to a warmer spot, such as inside a turned-off oven with the light off, and use a 1:2:2 feeding. Do not put the jar on a hot radiator or in a hot oven; temperatures above about 100 degrees Fahrenheit can damage the culture.
A starter that rises and collapses quickly is active but underfed. Increase the flour and water at each feeding, or feed twice daily. If it smells like nail-polish remover, the microbes are running low on food. That sharp smell usually improves after two or three well-timed feedings.
A starter that looks bubbly but makes dense bread may not be ready when mixed into the dough. The surface can bubble while the center remains weak. Try the float test if you like, but treat it as a rough clue rather than a laboratory result. A doubled starter with a domed top and a consistent rise is better evidence.
A watery layer inside the jar does not automatically mean disaster. Stir it in, discard most of the mixture, and feed it with equal weights flour and water. If the liquid returns quickly, use a larger feeding ratio and shorten the time between refreshments.
A simple first bake
For a first loaf, mix 100 grams active sourdough starter with 350 grams water and 500 grams bread flour. Add 10 grams fine salt after a short rest. This makes a dough at roughly 70 percent hydration, which is manageable without turning the counter into a glue factory.
Let the dough rest for 30 minutes after mixing, then complete four sets of stretch-and-folds at 30-minute intervals. Leave it covered until it looks aerated and has risen by about 50 percent. Depending on room temperature and starter strength, bulk fermentation may take four to eight hours.
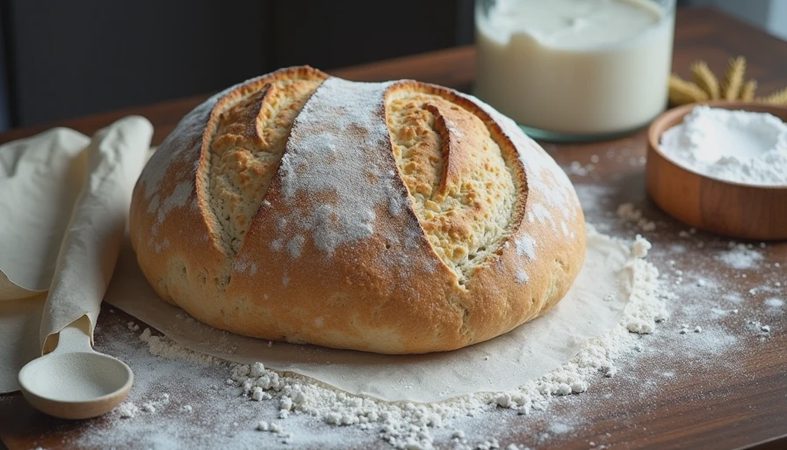
Shape gently, place the dough seam-side up in a floured bowl, and refrigerate for 8 to 16 hours. Bake in a preheated Dutch oven at 450 degrees Fahrenheit, covered for 20 minutes and uncovered for another 20 to 25 minutes. Let the loaf cool for at least one hour before slicing. Cutting early can make a properly baked loaf seem gummy.
If the loaf spreads, the dough probably fermented too long or the starter was weak. If it is dense, fermentation likely stopped too soon. Write down the room temperature, feeding time, dough temperature, and bake time. That small data habit will teach you more than chasing someone else's exact schedule.
The dough will forgive you. So will I. Your first loaf may be lopsided, pale, or cracked in a place you did not score. Eat it toasted with butter, note what happened, and try again. A dependable sourdough starter is built through observation, not perfection. Put on the apron and go ahead and do it.


No comments yet.