
This mini cookie pie recipe makes six little chocolate chip cookie pies with golden edges and soft centers, baked right in a standard muffin pan. There is no separate pastry crust and no fussy filling: the cookie dough is the pie, and a spoonful of melted chocolate or ice cream on top makes it feel like dessert worth sitting down for.
The centers will look slightly soft when the pan comes out. That is not a reason to panic or to put them back for another ten minutes. They firm up as they cool, and a little unevenness is part of the charm.
What you need before you start
You will need a standard 12-cup muffin pan, though you will use only six wells, plus a mixing bowl and a spoon. Paper liners make lifting the pies out easier. If you do not have them, grease six wells thoroughly, including the sides.
Allow about 15 minutes to mix, 15 to 19 minutes to bake, and at least 20 minutes to cool in the pan. The recipe makes six cookie pies. For the most consistent result, weigh the ingredients; flour packed into a measuring cup can make the dough dry.
Use 85 grams unsalted butter, softened; 75 grams packed light or dark brown sugar; 25 grams granulated sugar; 1 large egg yolk, about 18 grams; and 1 teaspoon vanilla extract, about 5 grams.
For the dry ingredients, measure 125 grams all-purpose flour, 1/4 teaspoon baking soda, and 1/4 teaspoon fine table salt. Add 90 grams semisweet chocolate chips. If using salted butter, reduce the added salt to a small pinch, about 1/8 teaspoon.
Save the egg white for another recipe, or refrigerate it promptly in a covered container. The yolk gives this small batch richness without adding the extra liquid of a whole egg.
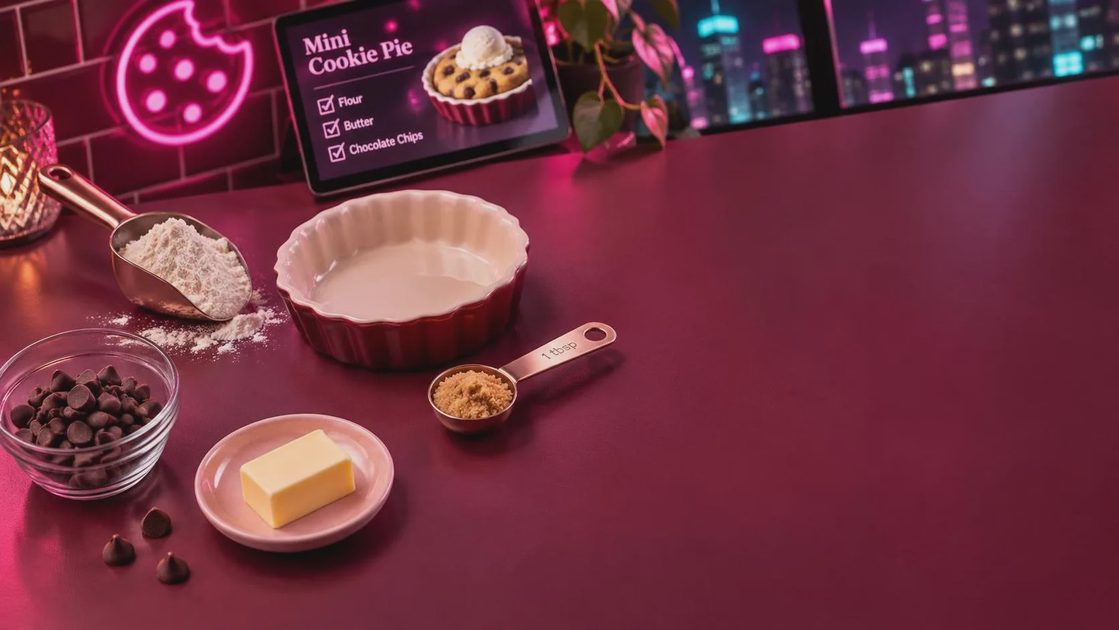
How to make mini cookie pie recipe dough and bake it
Heat the oven to 350°F with a rack in the center. Line or grease six muffin wells. If your oven tends to run hot, an inexpensive oven thermometer can help, but it is not required.
Beat the softened butter, brown sugar, and granulated sugar together with a spoon or hand mixer for about 2 minutes, until creamy and a little lighter. The butter should yield to a finger but not look shiny or melted. Beat in the egg yolk and vanilla until combined, scraping the bowl once.
In a separate small bowl, stir together the flour, baking soda, and salt. Add them to the butter mixture and stir just until no dry flour remains. Fold in the chocolate chips. The dough should be thick and scoopable, not pourable.
Divide the dough evenly among the six prepared wells, about 67 grams per well. Press it gently into the bottoms and slightly up the sides to create a shallow dip in each center. These are thick cookie cups rather than fully enclosed pies, so do not worry about making tall, thin walls.
Bake for 15 to 19 minutes, until the edges are golden brown and the centers look set on the surface but still slightly soft. Start checking at 15 minutes; dark pans can brown the edges sooner. If the centers have puffed up, gently press them down with the back of a clean spoon immediately after baking.
Set the pan on a rack and cool for at least 20 minutes. Run a thin knife around the edges if needed, then lift the pies out. They are delicate while warm, so give them more time if they resist. Cool completely for a firmer, less crumbly center.
The little details that make a difference
Softened butter is the first thing I check when cookie dough spreads too much. If yours has slumped into an oily puddle before mixing, refrigerate it until it is soft but no longer liquid. Already made the dough with very warm butter? Chill it for 20 to 30 minutes before dividing it into the pan. Chilling helps the fat firm up; it will not fix an ingredient that was measured incorrectly, but it can slow spreading.
Dry, crumbly dough usually points to too much flour or butter that was too cold to mix smoothly. Weighing flour helps avoid the first problem. For dough that is already mixed and will not hold together when squeezed, work in milk 1 teaspoon at a time, stopping as soon as it comes together. Do not add enough to turn it into batter.
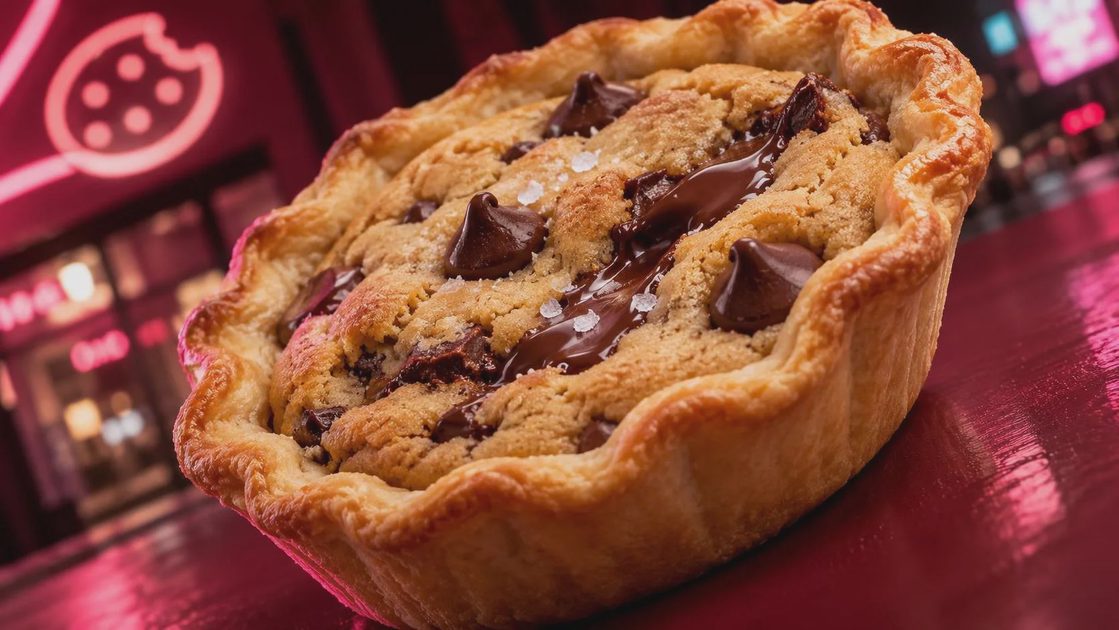
If the edges are dark but the middle is still raw, move the pan to a higher rack if it was near the oven floor, and check your oven temperature before the next batch. For the batch in front of you, loosely cover the tops with foil and continue baking, checking every 2 minutes. A soft center is lovely; wet, uncooked batter is not. Because the dough contains raw egg and flour, do not taste it before baking.
Toppings, storage, and a second batch
For an easy chocolate topping, melt 30 grams chocolate chips gently in a microwave-safe bowl, stirring at short intervals, and spoon a little over each cooled pie. Or serve a warm pie with a small scoop of vanilla ice cream. Add ice cream just before eating, not while the pies are in storage.
You can also swap up to 45 grams of the chocolate chips for the same weight of chopped toasted nuts. Keep the total amount of mix-ins at 90 grams so the dough still holds together around them. If nuts are an allergy concern, leave them out and stick with chocolate chips that suit your needs.
Store completely cooled, untopped pies in an airtight container at room temperature for up to 3 days. To freeze, wrap them individually and place them in a freezer container for up to 2 months. Thaw at room temperature; warm briefly in the microwave if you like a softer center. Refrigerate any perishable toppings separately.
One last rescue note: if a pie breaks as you lift it, let the rest cool longer and scoop the broken one into a bowl with ice cream. If it is burnt through and tastes bitter, though, throw it in the trash and start fresh. The dough will forgive you. So will I.


No comments yet.