Brownie cups are what I make when I want the chewy corner piece without fighting anyone for it. Each one has a slightly crisp rim, a soft chocolate center, and enough structure to hold a scoop of ice cream or a few raspberries. They also do not require special equipment: one saucepan, one bowl, and a standard 12-cup muffin pan will get you there.
I developed this version after a particularly annoying batch came out dry around the edges and raw in the middle. The problem was not the recipe alone. I had filled the wells too generously and baked by appearance instead of temperature and texture. The fix is simple: use a measured portion, pull the pan when the centers still look a little underdone, and let the brownies finish setting in the pan.
What you need for fudgy brownie cups
For 12 brownie cups, weigh 170 grams of granulated sugar, 115 grams of unsalted butter, 85 grams of semisweet chocolate, 2 large eggs weighing about 100 grams without shells, 5 grams of vanilla extract, 65 grams of all-purpose flour, 25 grams of unsweetened cocoa powder, 2 grams of fine salt, and 70 grams of chocolate chips. You will also need 15 grams of neutral oil or softened butter for greasing the pan.
Use ordinary grocery-store ingredients. I like Ghirardelli or Guittard chocolate because the flavor is reliably deep, but a chopped semisweet baking bar works well too. Dutch-process cocoa gives a darker color, while natural cocoa makes the chocolate taste a little sharper. Do not swap the flour for almond flour without changing the formula; its lack of gluten changes the structure and can leave the centers greasy.
Heat your oven to 350°F. Grease the muffin pan thoroughly, including the upper edges of each well. If your pan tends to stick, cut twelve small parchment strips, place one across each well, and leave two ends sticking up as handles. Paper liners work, but they soften the exposed sides and reduce the best part: that chewy edge.
Melt the butter and chopped chocolate together in a small saucepan over low heat, stirring until smooth. Remove the pan from the burner and whisk in the sugar. The mixture will look thick and slightly grainy; that is fine. Whisk in the eggs one at a time, then add the vanilla. Stir in the flour, cocoa, and salt just until no dry streaks remain. Fold in the chocolate chips without beating air into the batter.
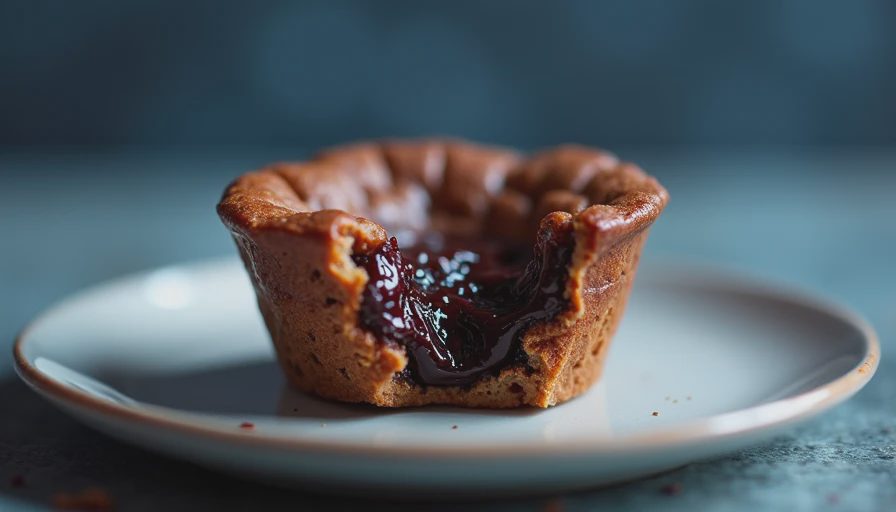
Filling and baking brownie cups
Portion 45 grams of batter into each prepared muffin well. A cookie scoop is convenient, but a spoon and a kitchen scale are more accurate. The batter should fill each well about two-thirds full, leaving room for the centers to rise. If you only have a 6-cup jumbo muffin pan, use about 80 grams per well and expect a longer bake.
Bake the standard brownie cups for 17 to 21 minutes. Start checking at 17 minutes because muffin pans vary more than people admit. The tops should look set around the edges, while the center should still have a slight wobble when you gently move the pan. A toothpick inserted near the middle should come out with moist crumbs, not completely clean batter. Completely clean usually means dry brownies.
Let the pan cool on a rack for 20 minutes. This is not a suggestion I invented to make you wait; the residual heat is part of the cooking process. The centers firm as the cocoa butter and flour structure settle. Run a thin knife around the edges, then lift each brownie using the parchment handles or a small offset spatula. If one breaks, call it a baker's sample and eat it warm.
For a thicker chocolate flavor, add 1 gram of espresso powder to the dry ingredients. It will not make the dessert taste like coffee; it makes the cocoa taste more rounded. For a nut version, replace 30 grams of the chocolate chips with toasted walnuts or pecans. Toast them at 325°F for 8 to 10 minutes first, then cool them before folding them in.
The failure modes I actually see
If your brownie cups sink dramatically, the centers were probably too wet or the eggs were whipped too aggressively. These brownies are meant to be fudgy, but they still need enough structure to support themselves. Weigh the batter portions and bake for two additional minutes next time. A small dip is normal and makes a useful little pocket for ganache.
If the bottoms are hard, your pan may be dark metal, which transfers heat quickly. Move the pan to the middle rack and check early, or place a light-colored sheet pan underneath it to soften the heat. Do not compensate by adding more butter; that can make the centers greasy rather than tender.
If the brownie cups refuse to release, they were either under-greased or removed while hot. Let them cool the full 20 minutes. For the next batch, brush the wells with softened butter and dust them lightly with cocoa powder. Flour can leave pale marks on the chocolate, while cocoa keeps the finish dark.
Toppings, storage, and serving
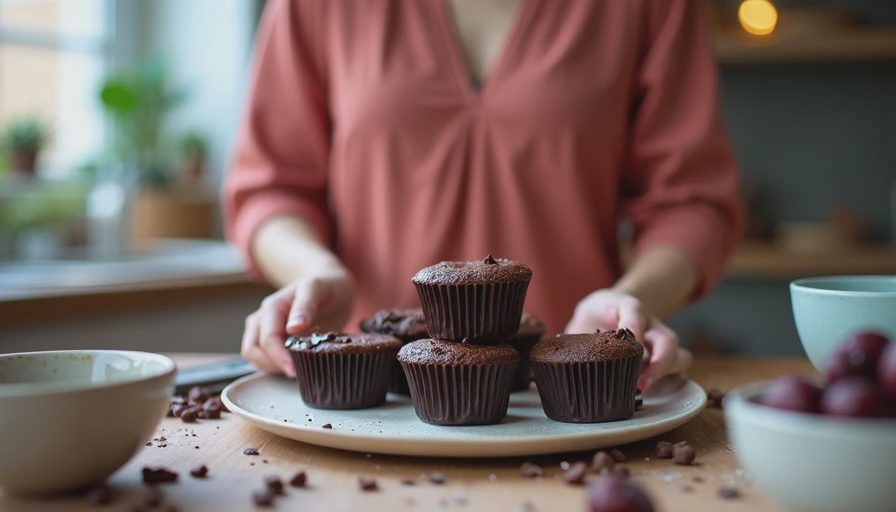
These brownie cups are rich enough to serve plain, but toppings turn them into an easy dessert for guests. Add a teaspoon of peanut butter to the center before baking, or press three chocolate chips into each warm top. After cooling, drizzle them with 60 grams of melted chocolate mixed with 10 grams of heavy cream. A pinch of flaky salt gives the sweetness somewhere to go.
For a birthday plate, pipe a small swirl of vanilla buttercream on each cup and add a single berry. For a less fussy weeknight dessert, warm one for 10 seconds in the microwave and add vanilla ice cream. I would not frost the entire batch if you plan to store it; the un-topped brownies keep their texture better.
Store brownie cups in an airtight container at room temperature for up to four days. Place parchment between layers so the tops do not stick. They can also be frozen for up to two months. Wrap each one in plastic wrap, place the wrapped pieces in a freezer bag, and thaw them at room temperature for about an hour. A short microwave warm-up restores some of the fudgy texture, though the edges will be softer.
A practical baking timeline
If you are serving these after dinner, make the batter in the afternoon and bake the brownie cups about two hours before guests arrive. They need 20 minutes in the pan, then about 40 minutes to cool fully before topping. If you are baking with a child, measure the ingredients first and let the child add the chocolate chips; Lily considers that job more important than eating the finished dessert, at least until the tray appears.
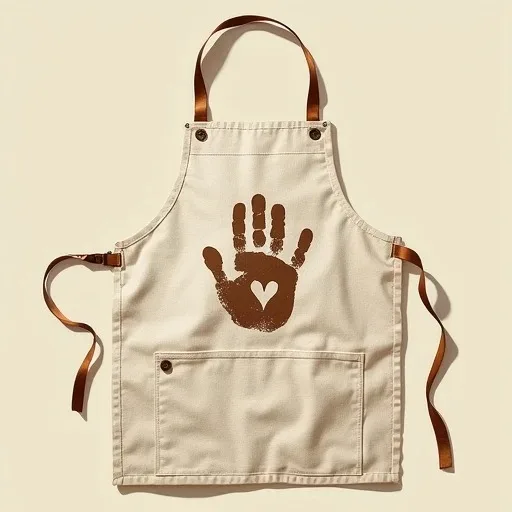
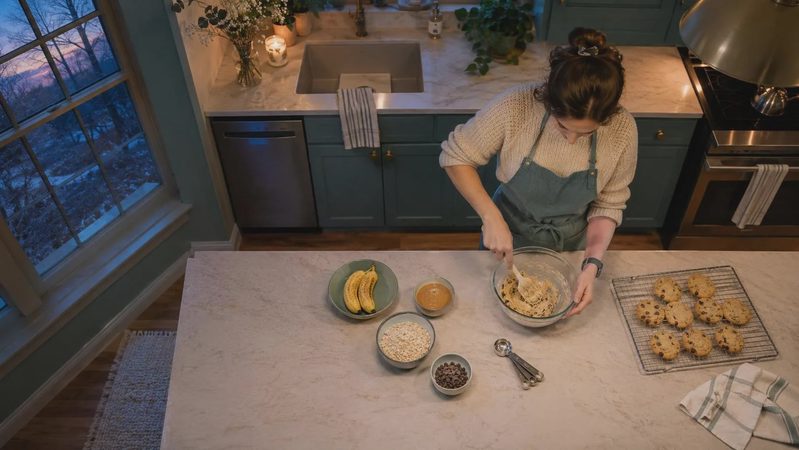
The most useful rule is to trust measured batter and moist crumbs more than a recipe's exact minute count. Your pan, rack position, and oven all have opinions. Mine certainly does. If the first batch is a little ugly, keep the good pieces, crumble the overbaked ones over ice cream, and adjust the next round. It doesn't matter if it's perfect or not, just make it delicious. Put on the apron and go ahead and do it.

No comments yet.