Homemade bread does not need a spotless kitchen, a $300 mixer, or the kind of oven that looks like it belongs in a bakery. I learned that after enough collapsed loaves to fill a compost bin. This straightforward loaf uses ordinary flour, a bowl, your hands, and a little patience. The crust may crack where you did not plan it to crack. Good. That is evidence that someone made it.
The simple formula and what each ingredient does
For one medium loaf, weigh 500 grams of bread flour, 350 grams of water, 10 grams of fine salt, and 4 grams of instant yeast. This is 70 percent hydration, which sounds technical but simply means the dough is soft enough for a light crumb without becoming soup. Bread flour gives the dough more gluten-building protein, but unbleached all-purpose flour also works. Your loaf may spread slightly more and have a tenderer bite.
Put the flour and water in a large bowl and mix until no dry patches remain. Let it sit for 20 minutes. This short rest, called an autolyse when salt and yeast are held back, gives the flour time to absorb water. Add the yeast and salt, then pinch and fold the dough for about two minutes. It will feel sticky. Resist the urge to dump in another 50 grams of flour. Extra flour is one of the fastest ways to make homemade bread heavy and dry.
Cover the bowl and leave it at room temperature for 90 minutes. Every 30 minutes, stretch one side of the dough upward and fold it over the center. Rotate the bowl and repeat four times. These folds organize gluten without requiring an exhausting knead. In my Denver kitchen, a cool winter room can add 20 to 30 minutes to the rise, while a warm summer afternoon can shorten it.
How to know when the dough is ready
Do not judge fermentation by the clock alone. Look for dough that has expanded by about half, feels aerated, and wobbles when you gently shake the bowl. It does not need to double. Waiting for a full doubling can push the dough into overproofing, especially if your kitchen is warm.
Turn the dough onto a lightly floured counter. Fold the edges into the middle, flip it seam-side down, and drag it toward you to create surface tension. Rest it for 15 minutes, then repeat the shaping once. Place the round seam-side up in a towel-lined bowl dusted with rice flour or all-purpose flour. Cover and refrigerate for 8 to 16 hours.
The refrigerator makes the dough easier to score and gives the yeast time to develop flavor. It also gives you a practical schedule: mix after dinner, bake before breakfast. If the dough has barely changed after the cold rest, your refrigerator may be very cold or the yeast may be old. Let it sit at room temperature for 45 to 75 minutes before baking.
A common failure is dough that feels loose and puddles immediately after shaping. Usually, fermentation went too far or the dough never developed enough strength. You can still bake it in a loaf pan. Do not chase a perfect round shape. A flatter loaf with butter melting into the crumb is still homemade bread worth eating.
Baking without fancy equipment
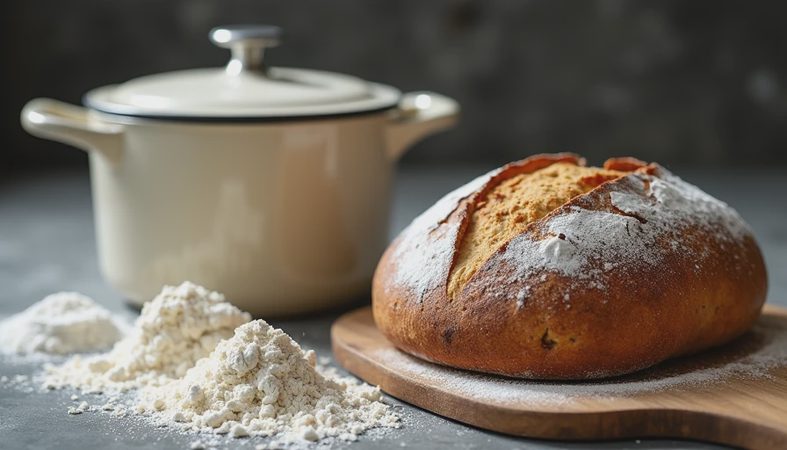
Place a Dutch oven with its lid in the oven and preheat to 475 degrees Fahrenheit for at least 35 minutes. A 5- to 6-quart enameled pot works well, but a heavy oven-safe pot with a lid can also trap steam. If you do not have one, place the dough on a parchment-lined sheet pan and set a metal pan on the lower rack. Add 240 grams of boiling water to that pan when the loaf goes in. Steam helps the crust stay flexible while the loaf expands.
Turn the cold dough onto parchment, score one confident slash about half an inch deep, and lower it into the hot pot. Bake covered for 20 minutes. Remove the lid, reduce the temperature to 450 degrees, and bake another 20 to 25 minutes. The crust should be a deep golden brown, not pale beige. For a more reliable check, the center should reach about 200 to 210 degrees.
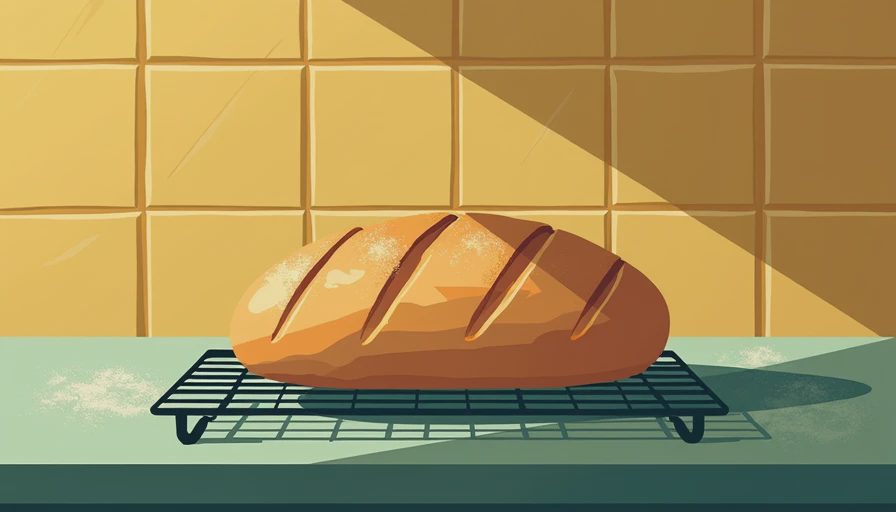
Do not slice immediately. Set the loaf on a rack for at least one hour. I know the smell is rude. Lily and I have both hovered beside a cooling loaf with a bread knife, and we have both regretted it. Cutting too early compresses the crumb and makes a properly baked loaf seem gummy.
Troubleshooting the loaf you actually baked
If homemade bread has a dense stripe near the bottom, the dough may have been underproofed, shaped too tightly, or baked before the oven was fully hot. Next time, wait for visible volume and a springy, aerated feel rather than relying on a timer. If the top browns before the center finishes, lower the temperature by 25 degrees after the first 20 minutes and use an instant-read thermometer.
A loaf with a thick, tough crust often lost moisture too quickly. Use a covered pot for longer, or add steam more carefully with the sheet-pan method. A gummy center can mean underbaking, but it can also come from slicing while warm. Give the loaf its full cooling time before diagnosing it.
If the dough is sticky and impossible to shape, wet your hands instead of adding flour. If it tears during folding, leave it alone for 15 minutes and try again. Gluten often needs rest more than force. When my own loaf spreads into a sad pancake, I bake it anyway, cut it into thick slices, and toast it. When it tastes sour, raw, or unpleasant, I throw it in the trash. Not every loaf deserves a rescue mission.
A realistic schedule for busy bakers
At 7 p.m., mix the flour and water. At 7:20, add yeast and salt. Complete folds at 7:50, 8:20, and 8:50. Shape around 9 p.m. and refrigerate. The next morning, preheat the oven at 6:30, bake at 7:05, and cool until 8:05. That is homemade bread before work, school drop-off, or the first truly necessary coffee.
For a same-day loaf, use warm water around 85 degrees and expect the first rise to take roughly 60 to 90 minutes. Avoid hot water, which can damage yeast. If you need dinner bread, begin by noon for a late-afternoon bake. Weighing ingredients takes less than two minutes and removes the guesswork that measuring cups introduce.
Make the next loaf better, not prettier
Keep a small note beside the bowl: flour brand, room temperature, rise time, and baking result. Data is not about making baking sterile; it is how you notice patterns. If three loaves spread after a 16-hour cold proof, shorten it to 10 hours. If every loaf is pale, extend the uncovered bake by five minutes.
Homemade bread rewards attention, not perfection. Start with the weights above, make one change at a time, and accept the occasional crooked score. The dough will forgive you. So will I. Put on the apron and go ahead and do it.


No comments yet.