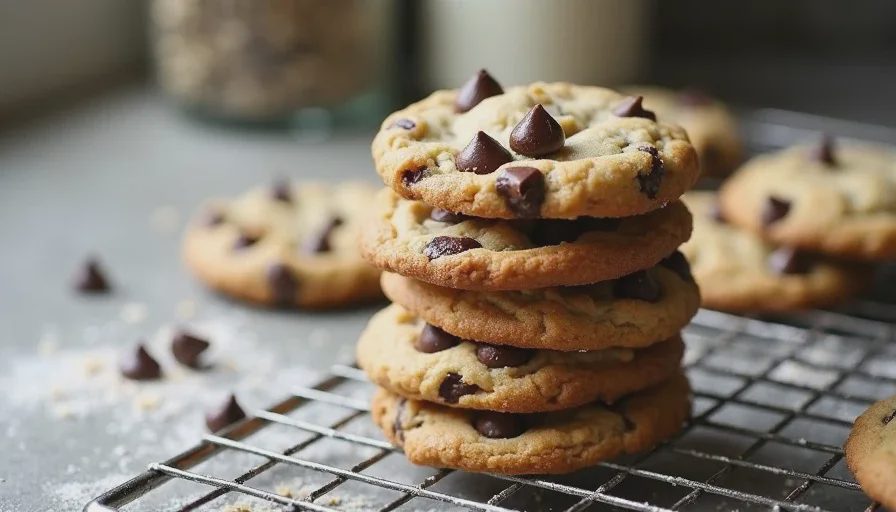
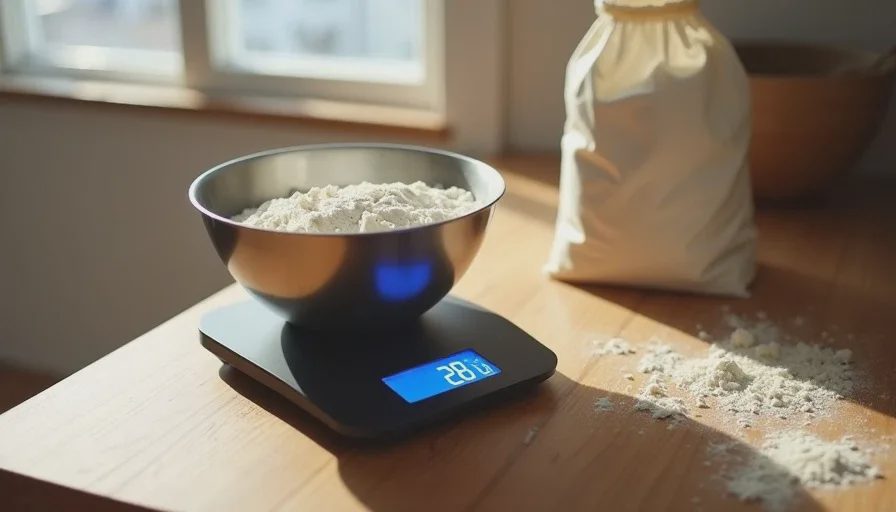
I stopped using cup measures for flour years ago. The same “cup” can weigh anywhere from 120 g to 150 g depending on how you scoop, how settled the flour is, and how humid the day happens to be. That 30 g swing is enough to turn a cookie that should spread into a thick, cakey puck or a thin, greasy lace. Once I started weighing everything, the cookies stopped surprising me in the wrong direction.
This is the formula I use most often. It is a classic chocolate-chip style cookie written entirely in grams. It spreads just enough, stays chewy in the center, and crisp at the edges when baked correctly. I give the weights first and the method second. If you only change one thing in your baking, change this: put the flour on a scale.
Why a cup of flour is a lie
Flour compresses. If you dip the measuring cup into the bag and sweep the top, you pack more flour into the cup than if you spoon it in lightly. Humidity changes the weight. Altitude and storage change it. Two bakers following the same volume recipe can easily end up with doughs that behave differently. Weight removes that variable.
Butter, sugar, and eggs are more consistent by volume than flour, but weighing them still improves repeatability. I weigh everything except the tiniest amounts of salt, baking soda, and vanilla, and even those I prefer in grams when the scale allows.
In Denver the air is dry most of the year. Flour stored in the cupboard can lose a little moisture and weigh slightly less for the same volume. That is another quiet reason volume recipes written for more humid climates sometimes feel off here. Grams stay honest.
The cookie formula (makes about 16–18 medium cookies)
Dry ingredients
280 g all-purpose flour
5 g cornstarch (helps tenderness)
5 g baking soda
4 g fine sea salt
Wet ingredients
170 g unsalted butter, softened but still cool
150 g light brown sugar
100 g granulated sugar
1 large egg (50 g without shell)
1 large egg yolk (18 g)
10 g vanilla extract
Mix-ins
200 g dark or semisweet chocolate, chopped into chunks (or chips if you prefer)
I use a mix of brown and white sugar for chew and spread. The extra yolk adds richness without making the cookies cakey. Cornstarch is optional but gives a slightly softer center. Chopped chocolate creates uneven pools that chips do not. Use what you have.
Method that actually controls spread
Whisk the flour, cornstarch, baking soda, and salt in a bowl. Set aside.
In a larger bowl, beat the butter, brown sugar, and granulated sugar until the mixture looks lighter and slightly fluffy, about 2–3 minutes with a hand mixer or a bit longer by hand. Add the whole egg, yolk, and vanilla. Beat until fully combined and smooth.
Add the dry ingredients and mix on low or by hand just until no dry flour remains. Do not overmix. Fold in the chocolate chunks.
The dough will be soft but not sticky. Cover and chill it for at least 1 hour, preferably 2. Cold dough spreads less and bakes more evenly. I often chill it overnight and bake the next day. The flavor improves.
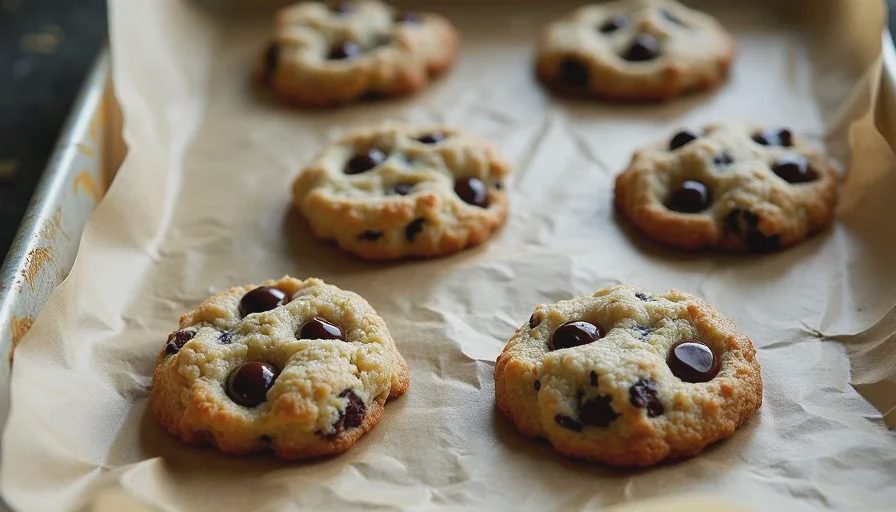
Heat the oven to 350°F (175°C). Line two baking sheets with parchment. Scoop the dough into portions of about 45–50 g each (a medium cookie scoop works). Place them a few inches apart. Bake one sheet at a time for 11–14 minutes. The edges should be golden and the centers still slightly soft and underdone when you take them out. They finish setting on the sheet.
Let the cookies cool on the pan for 5–10 minutes, then move them to a rack. They will firm up as they cool.
How to read the results and adjust
Cookies spread too thin.
The butter was too warm, the dough was not chilled long enough, or the flour was under-measured in a previous volume version you tried. Make sure the butter is soft but still holds its shape. Chill the scooped dough for 15 minutes on the sheet if your kitchen is warm. Next batch, keep the flour at 280 g and do not reduce it.
Cookies stay thick and cakey.
Too much flour or too little butter/sugar relative to it. Check your scale. Make sure you are not packing the flour if you ever go back to cups. A slightly longer chill can also reduce spread, so if you want more, shorten the chill or press the balls down lightly before baking.
Cookies brown too fast underneath.
Your baking sheet is thin or your oven runs hot from the bottom. Use a lighter-colored sheet or an insulated one. Move the rack up one level. I rotate the pan halfway through because my oven has a hot left side.
Centers stay too soft even after cooling.
They needed another minute or two in the oven. The residual heat carries them further than you expect. Learn the visual cue: edges set and browned, centers puffed but still pale and soft.
At altitude I sometimes add an extra 10 g of flour if the dough feels extremely soft after mixing, but I prefer to rely on the chill instead. Most of the time the base formula works without changes.
Why I keep making these
They are reliable once the weights are fixed. They use ingredients I usually have. They freeze well as raw balls—scoop, freeze on a sheet, then bag them. Bake from frozen and add a minute or two. Lily likes the ones with the biggest chocolate chunks. Mark prefers them the next day when the chew has settled. I like them best about twenty minutes out of the oven, when the edges are crisp and the center is still warm.
I have tried higher hydration versions, browned butter versions, and versions with different sugars. All of them can be good. None of them are more useful than a formula I can repeat exactly because every gram is written down. That is the quiet advantage of the scale. The cookies stop being a negotiation with the measuring cups and become something you can actually count on.
Weigh the flour. Chill the dough. Pull the cookies when the centers still look a little soft. The rest is preference. The dough will forgive small differences in chocolate or sugar type. It is less forgiving of a 30 g swing in flour. That part is no longer a mystery once you stop using the cup.

No comments yet.