Flourless brownies are the dessert I make when I want something intensely chocolatey without opening a bag of all-purpose flour. They are dense, fudgy, and a little dramatic on top, with a thin crackly crust that makes the whole pan look more intentional than it probably felt while mixing. No special equipment is required, and you do not need to whisk until your arm falls off.
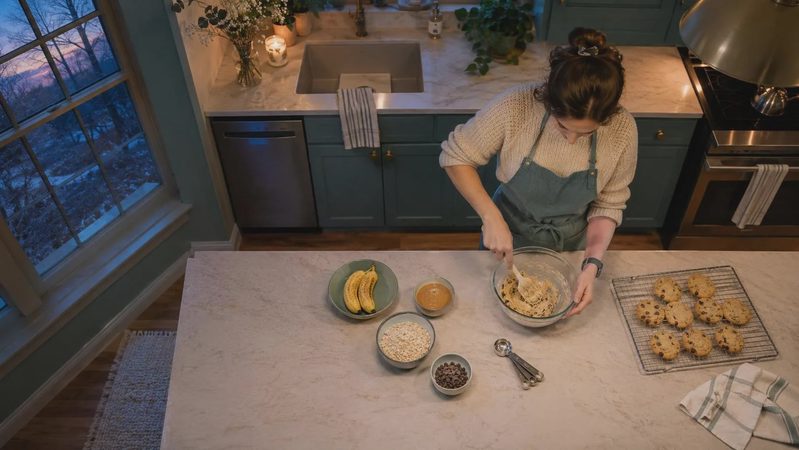
This recipe uses cocoa powder, melted chocolate, butter, eggs, and sugar. The eggs provide structure, while the chocolate and butter create that soft, almost truffle-like middle. I weigh everything in grams because brownies are small chemistry experiments, and a 30-gram difference in sugar or cocoa can change the texture. Put on the apron and go ahead and do it.
What makes flourless brownies work
Traditional brownies often rely on flour to give the batter a little framework. In flourless brownies, the eggs do more of that structural work. The proteins firm up in the oven, but the sugar and fat slow that process enough to keep the center tender. That is why the mixing order matters, even though this is a forgiving recipe.
Melt 170 grams of unsalted butter with 170 grams of chopped semisweet chocolate. I usually use Ghirardelli or Guittard chocolate because the flavor is dependable, but a good grocery-store bar works too. Let the mixture cool for five minutes before adding 200 grams of granulated sugar and 75 grams of unsweetened cocoa powder. Then whisk in three large eggs, one at a time, followed by 5 grams of vanilla extract and 3 grams of fine salt.
The finished batter will be glossy and thick. It should fall from the spatula in a slow ribbon, not pour like cake batter. Scrape it into a parchment-lined 8-inch square metal pan. A glass pan can work, but it often heats more gently and leaves the center softer while the edges continue baking. If glass is your only option, reduce the oven temperature to 325°F and expect to add a few minutes.
The exact method and timing
Heat the oven to 350°F. Line the pan with parchment, leaving enough overhang to lift the brownies out later. I like to lightly grease the pan first so the parchment stays put; this is not the moment to wrestle a sliding paper hammock while holding melted chocolate.
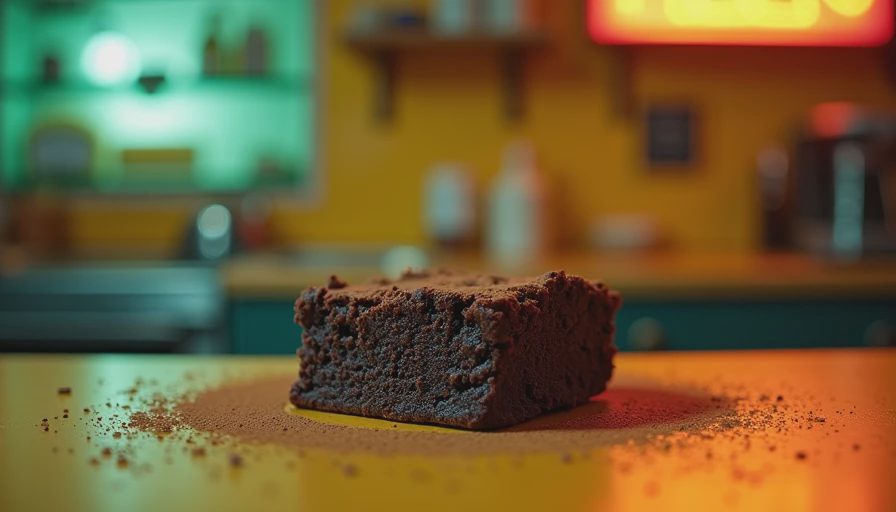
Bake the batter for 24 to 30 minutes. Start checking at 24 minutes because ovens are little liars, especially older ones. The edges should look set, and the center should still have a slight wobble when you gently move the pan. A toothpick inserted in the middle should come out with moist crumbs, not clean. Clean means you have probably crossed from fudgy into cakey.
Let the pan cool completely, at least 90 minutes, before slicing. I know this feels unreasonable. The brownies smell like a chocolate emergency. But cooling allows the cocoa butter and butterfat to firm up, and it gives the egg structure time to settle. If you cut them hot, the middle can look underbaked even when it is perfectly cooked.
For neat squares, chill the cooled pan for 30 minutes, then use a sharp knife wiped clean between cuts. For maximum fudginess, skip the chilling and accept that your first piece may look like a delicious landslide. It does not matter if it's perfect or not, just make it delicious.
Flourless brownies: the failure modes I actually see
The most common problem with flourless brownies is a dry, crumbly center. Usually, they were baked too long. The pan keeps cooking after it leaves the oven, so waiting for a completely firm middle is an expensive way to make chocolate cake without the cake structure. Pull them when the center still trembles slightly.
If the brownies are greasy, the chocolate and butter may have been too hot when the eggs went in. Very hot fat can partially scramble the eggs or prevent the batter from emulsifying. Cool the melted mixture until it feels warm rather than hot against the underside of your wrist. If a few streaks remain, whisk firmly before adding the cocoa.
A sunken middle is not automatically a disaster. Flourless brownies naturally settle as they cool because there is no flour network holding a tall crumb in place. A deep crater, however, usually means the eggs were under-mixed or the brownies were pulled from the oven too early. The fix is not more whisking after baking; next time, whisk each egg in until the batter looks smooth and cohesive.
Flavor changes that are worth making
A teaspoon of espresso powder will make the chocolate taste darker without making the brownies taste like coffee. Add it with the cocoa. For a salty-sweet version, sprinkle 2 grams of flaky sea salt over the batter before baking, then add a small pinch after cooling. Chopped walnuts add crunch, but keep the total amount to 100 grams so the batter still binds properly.
You can also fold in 120 grams of semisweet chocolate chips, though the center will be softer and more molten around the chips. For a holiday version, use 1 gram of peppermint extract, not a vague splash. Peppermint extract is powerful, and too much turns a good pan into toothpaste with edges.
If you need the brownies to be gluten-free, check the labels on your cocoa, chocolate, and flavorings for cross-contact information. The recipe contains no wheat flour, but “flourless” alone is not a guarantee that every packaged ingredient was processed in a wheat-free facility. That small label check matters for anyone baking around an allergy.
How to store and serve them
Store flourless brownies in an airtight container at room temperature for up to three days. They become denser and more chocolate-forward overnight, which is one of the rare baking situations where patience improves the evidence. For a firmer texture, refrigerate them for up to five days and let individual pieces sit at room temperature for 15 minutes before eating.
They freeze well, too. Wrap individual squares in parchment and place them in a freezer bag for up to two months. Thaw them on the counter for about an hour. I have eaten one still slightly cold with coffee, and I am not sorry. Warm a square for 10 seconds in the microwave and add vanilla ice cream if you want the full bakery-counter experience.
These flourless brownies are best when the edges are set and the center is still soft. If yours come out too firm, do not throw away the whole pan; warm a piece and serve it with whipped cream or ice cream. If the batch is burnt all the way through, throw it in the trash. That is not failure. That is data for the next pan.
A simple plan for your next batch
Set out the eggs, measure the butter and chocolate, and line the pan before turning on the oven. This prevents the classic mistake of having melted chocolate ready while searching for parchment. Use a metal 8-inch pan, bake at 350°F, begin checking at 24 minutes, and cool before judging the texture.
The batter does not need expensive equipment, a stand mixer, or a perfect oven. A saucepan, bowl, whisk, spatula, and pan will get you there. If your oven runs hot, use the wobble and moist-crumb tests rather than blindly following the clock. Your first batch might have a crooked corner or a crack wider than planned. Mine did too. The dough will forgive you. So will I.
Make these flourless brownies when you need a reliable chocolate dessert, not a performance for the internet. The crackly top can be uneven, the slices can be a little rough, and the center can leave a smear of chocolate on the knife. That is the good stuff. Let the pan cool, cut yourself the corner piece, and call it baking.

No comments yet.