
If you searched for peanut butter pie baked because you want a slice with a set, custardy center instead of a refrigerator pie that tastes like sweetened cream cheese, pull up a chair. This version has a crisp chocolate cookie crust, a peanut butter filling that stays creamy after baking, and a chocolate topping that takes five minutes. It is rich, a little messy, and completely realistic in a home oven.
I tested this on a dry Denver afternoon, which is a useful torture chamber for pie crusts. The first crust shrank because I rushed the chill. The second held its shape, but I pulled the filling too late and got a crack across the middle. Neither failure ruined dessert. The crack disappeared under chocolate, and Lily still licked her fork clean. The point is not a flawless pie. The point is a pie with good texture and enough peanut butter flavor to make you pause between bites.
What makes this peanut butter pie work
The crust uses 220 grams of chocolate sandwich cookies and 70 grams of unsalted butter. You can use Oreos, a store-brand chocolate sandwich cookie, or chocolate graham crackers. Crush the cookies into fine crumbs; large pieces create weak spots that let butter leak into the pan. Press the mixture firmly into a 9-inch metal pie plate, including the sides, then chill it for 20 minutes.
The filling needs room-temperature cream cheese, smooth peanut butter, eggs, brown sugar, sour cream, vanilla, and salt. Full-fat cream cheese gives the cleanest set. Natural peanut butter can work, but stir it thoroughly first; separated oil can make the filling greasy. I use a standard creamy brand such as Jif or Skippy because their stable texture behaves predictably in a baked custard.
For the filling, measure 340 grams cream cheese, 180 grams smooth peanut butter, 150 grams packed light brown sugar, 120 grams sour cream, 2 large eggs, 8 grams vanilla extract, and 3 grams fine salt. Beat the cream cheese and peanut butter until smooth, about 60 seconds. Add sugar, sour cream, vanilla, and salt. Mix in the eggs one at a time on low speed. Stop as soon as the batter is even. Too much air gives you a tall, puffy center that collapses as it cools.
How to bake the pie step by step
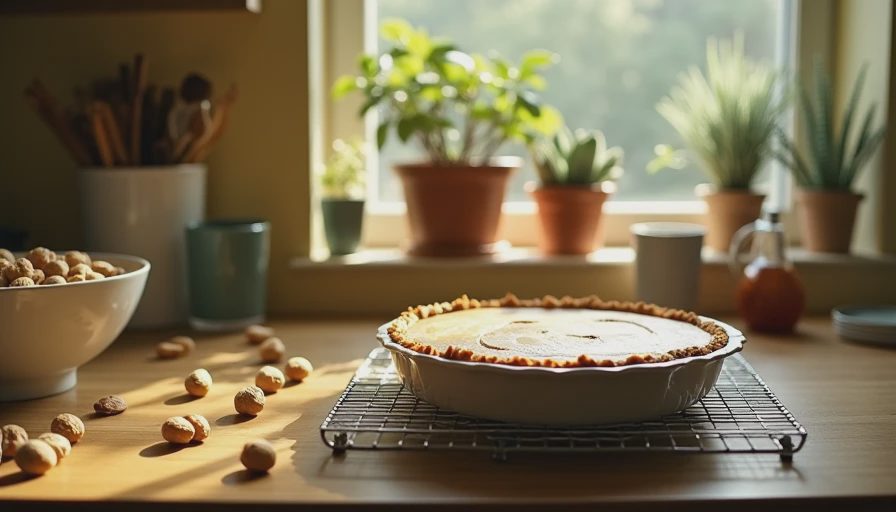
Heat the oven to 325 degrees Fahrenheit. Bake the chilled crust alone for 10 minutes, then let it cool for 10 minutes. Pour in the filling and gently tap the pie plate once on the counter to release large bubbles. Set the pie on the middle rack and bake for 42 to 50 minutes.
For peanut butter pie baked properly, the outer 2 inches should look set while the center still trembles slightly when you nudge the pan. Do not wait for the middle to look firm. It continues cooking from residual heat, and a completely solid center in the oven usually means a dry, cracked slice later. If you own an instant-read thermometer, aim for roughly 150 to 155 degrees in the center, then remove the pie.
Cool it on a rack for one hour. Refrigerate for at least four hours, preferably overnight, before slicing. This is not optional decoration; chilling gives the eggs and cream cheese time to finish setting. Run a thin knife under hot water, wipe it dry, and slice. Repeat between cuts for tidy pieces.
A baked peanut butter pie can look slightly puffed when it first comes out. That is normal. It should settle as it cools. The surface may wrinkle around the edge, too. I consider that a useful sign that the filling was not overbaked. Put the chocolate topping on only after the pie is cold, or it will melt into a shiny brown puddle.
The topping and the best serving plan
For a quick topping, heat 120 grams heavy cream until steaming but not boiling. Pour it over 140 grams finely chopped semisweet chocolate. Wait two minutes, then stir from the center outward until glossy. Cool the ganache for 10 minutes, spread it over the chilled pie, and refrigerate another 20 minutes. Add 35 grams roasted chopped peanuts if you like crunch.
This peanut butter pie baked with a ganache layer is already sweet and dense, so serve small slices with unsweetened whipped cream. A pinch of flaky salt on top cuts through the richness. I also like a thin drizzle of warmed peanut butter, but keep it to 30 grams or less; a heavy layer makes every bite taste flat rather than more peanutty.
Plan for eight generous slices or ten modest ones. The pie keeps covered in the refrigerator for up to four days. The crust softens slightly after the second day, but the filling actually becomes easier to slice. Do not freeze it with the ganache unless you have to. Thawing can create condensation and a damp crust.
Troubleshooting the failures I actually see
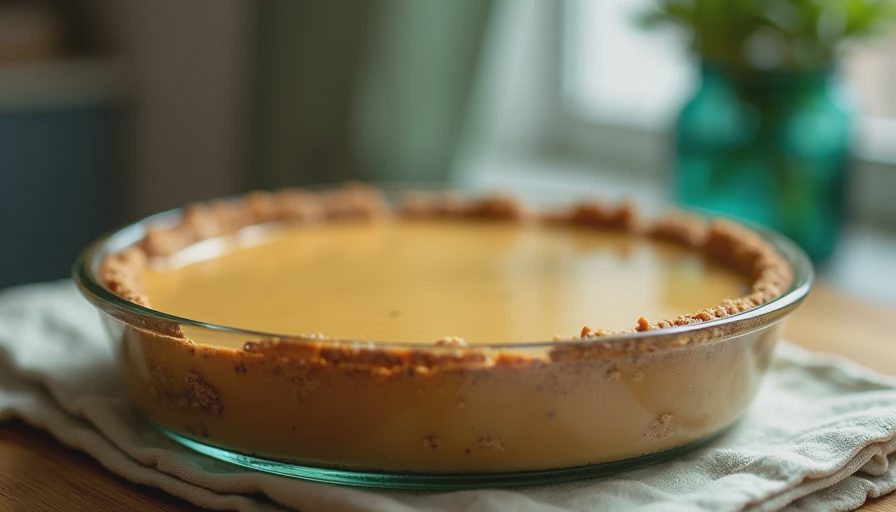
If the crust slides down the sides, it was probably too warm or not pressed firmly enough. Chill the shaped crust and use the flat bottom of a measuring cup to compact it. If the bottom is soggy, bake the crust a few minutes longer next time and cool it before adding filling. A glass pie dish can also require several extra minutes because it heats more slowly than metal.
If your peanut butter pie baked with a deep crack, the likely culprit is overbaking, overmixing, or an oven running hot. An inexpensive oven thermometer is more useful than a drawer full of specialty tools. Pull the pie when the center jiggles, even if your instincts complain. Cover the cooled crack with ganache, crushed peanuts, or whipped cream. Nobody eating dessert needs to know the surface was imperfect.
If the filling tastes bland, check the salt before adding more sugar. Three grams may sound small, but it sharpens the peanut butter and chocolate. If the filling is greasy, the peanut butter was separated or the cream cheese was overheated. Mix gently and use ingredients at cool room temperature, not warm from a sunny counter.
A simple checklist before you start
Set out the cream cheese, eggs, and sour cream 45 to 60 minutes ahead. Weigh the ingredients instead of scooping flour-style cups of peanut butter, because packed spoonfuls can vary widely. Use a 9-inch pie plate, not a shallow tart pan. Chill the shaped crust for the full 20 minutes. Bake at 325 degrees, not 350, and start checking at 42 minutes.
Most importantly, schedule the refrigerator time. Peanut butter pie baked in the morning is ready for dinner, but peanut butter pie baked one hour before guests arrive will be soft and difficult to cut. If you need dessert tomorrow, make the whole pie tonight. Add the ganache after the filling is thoroughly cold, then cover it loosely so condensation does not drip onto the surface.
Final thoughts from my flour-covered counter
This is not a delicate pastry project, and it does not require a stand mixer, a water bath, or a picture-perfect finish. It asks for careful mixing, a patient chill, and the willingness to remove the pie before the center looks completely done. That is the small science note: residual heat is part of the recipe.
When mine cracked, I served it anyway, added chocolate, and called it dinner dessert. It was creamy, salty-sweet, and gone before the coffee cooled. The dough will forgive you. So will I. Put on the apron and go ahead and do it; peanut butter pie baked at home is allowed to look homemade.

No comments yet.